Tech

PC Build May 2014

I already posted about one Gaming PC Build I did back in May, but here is another one I helped out with. This friend was still using a PC he built years ago with a Q6600 processor which released in 2007. He certainly got his money’s worth out of that build, but it was time to retire it in favor of something newer. He would like to occasionally play some games, but that was not the focus of this build. He simply wanted something faster and more modern, that might be able to last as long as his previous build did. In the end, we went with a very similar build as the Gaming PC I put together a few weeks earlier, and just swapped out some parts based on his focus and budget.

The specs are:

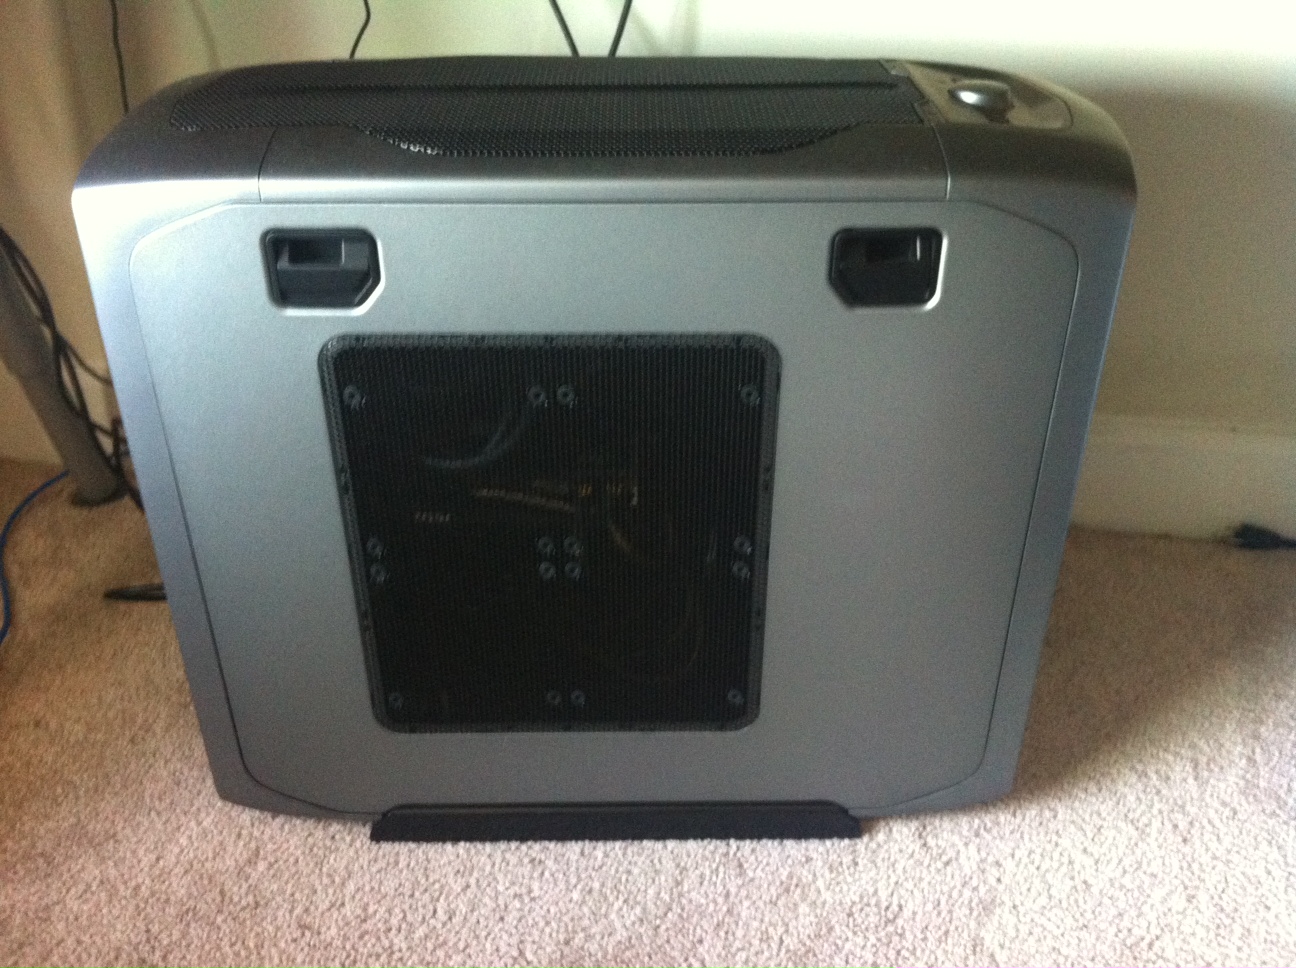
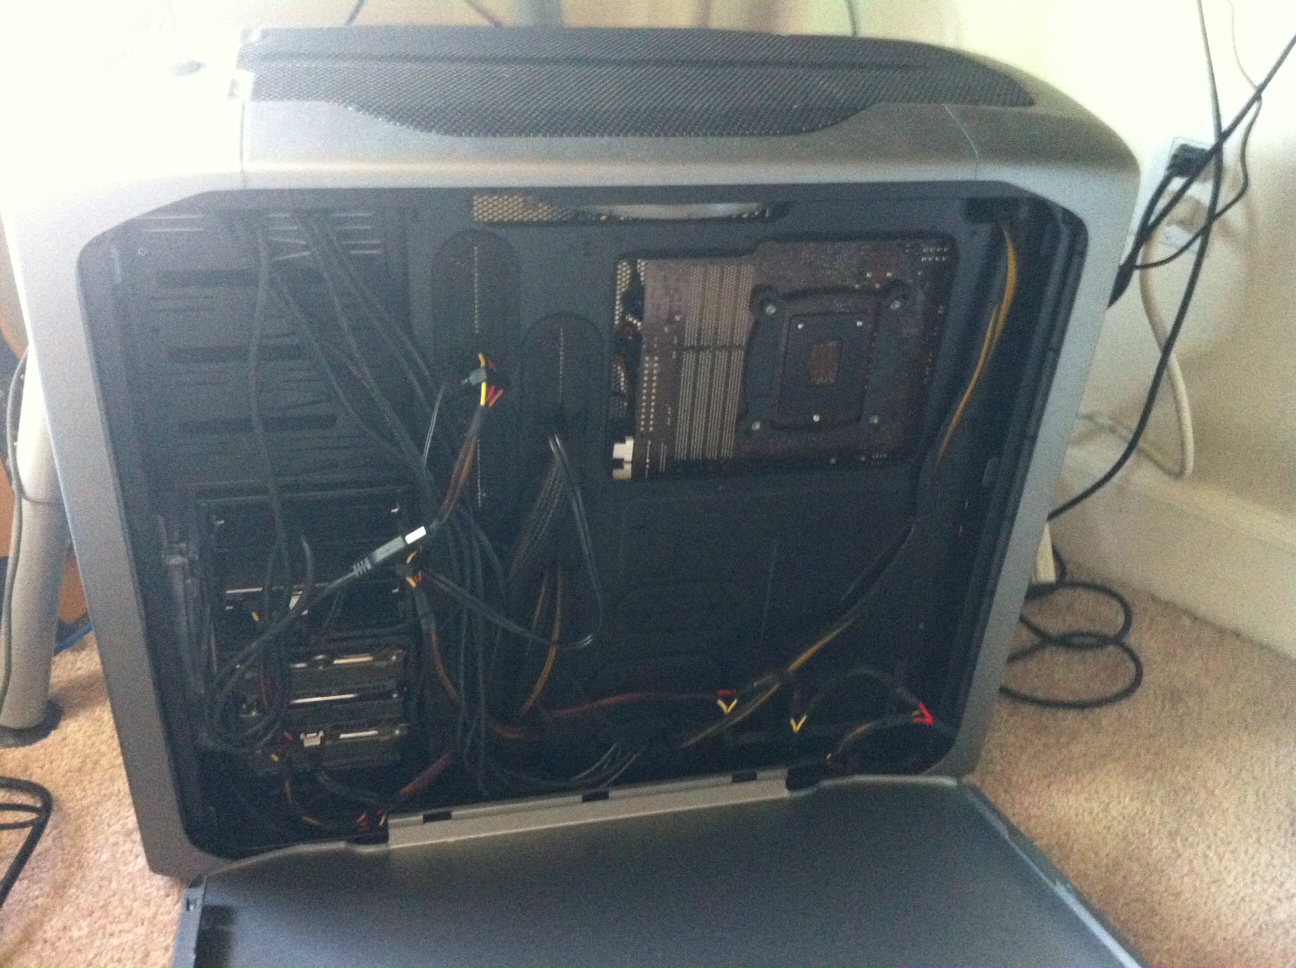
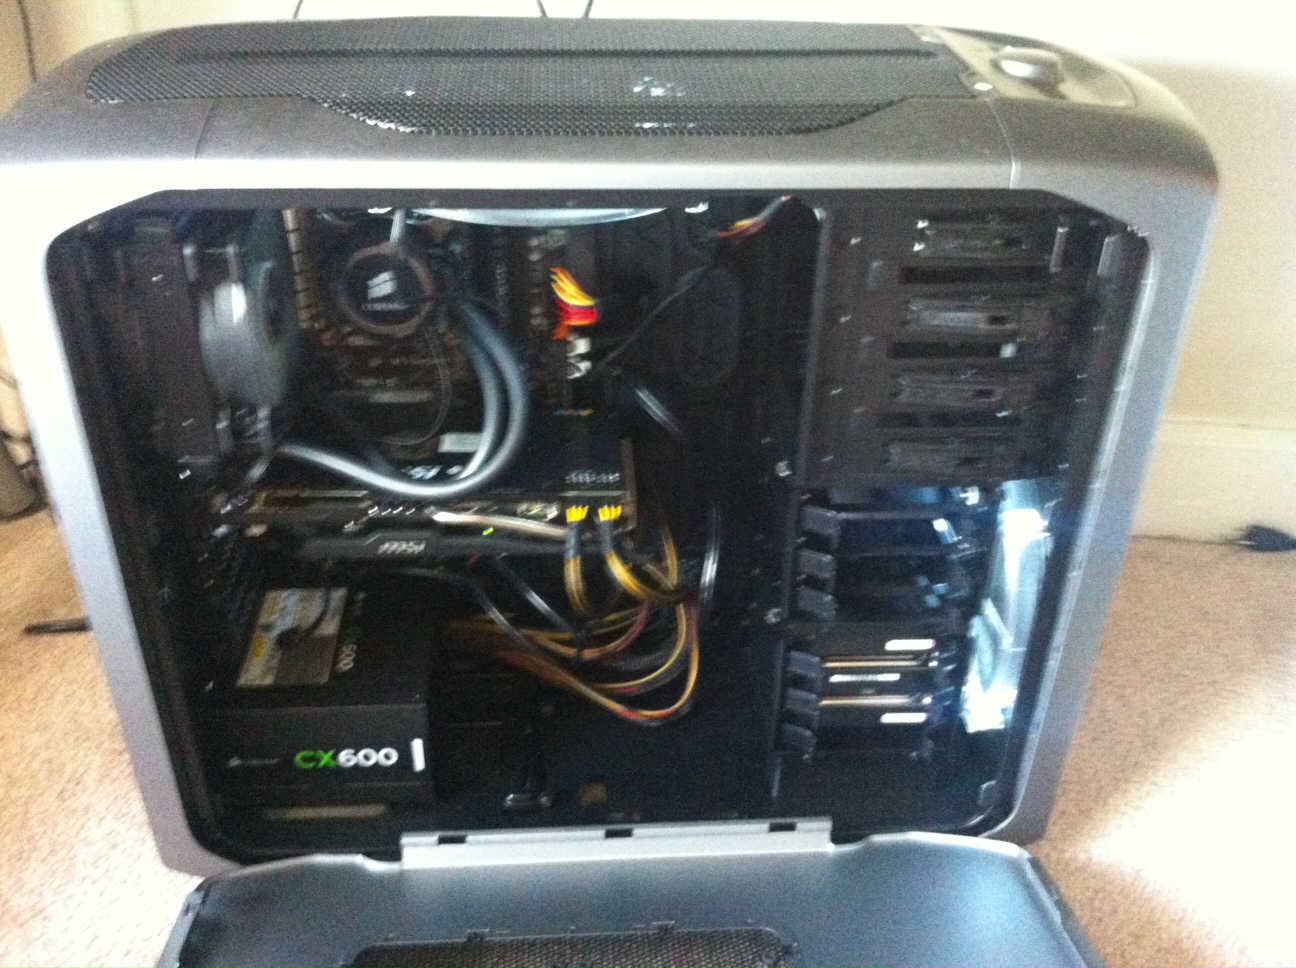
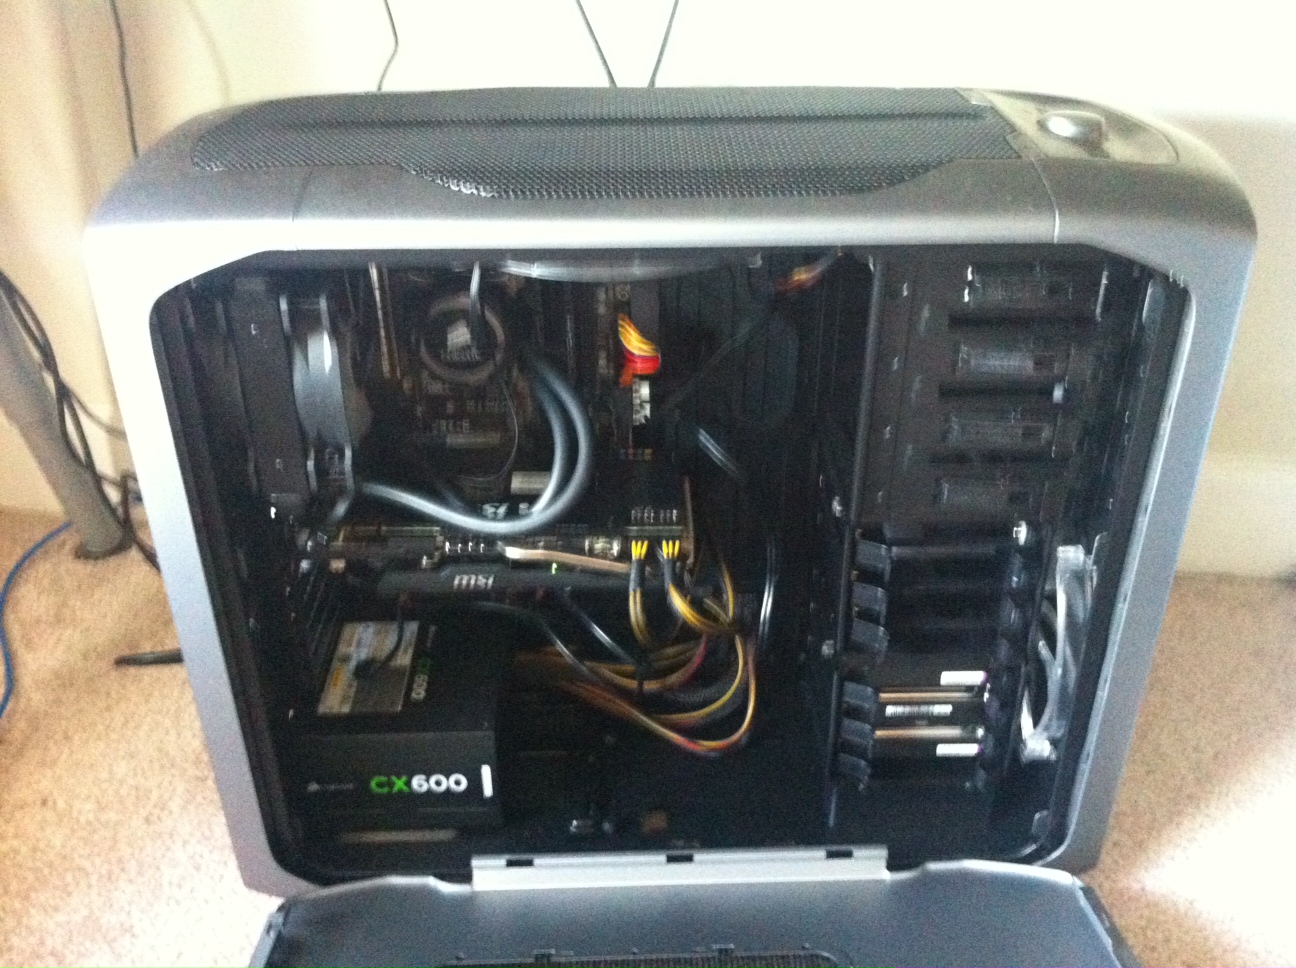
  • Corsair Graphite Series 600T
  • ASUS Z97-C Motherboard
  • Intel Core i7-4770K
  • MSI GTX 760 4GB 256-Bit GDDR5
  • CORSAIR CX Series CX600
  • CORSAIR Vengeance 8GB (2 x 4GB)
  • SAMSUNG 840 EVO 120GB
  • Western Digital Blue 1TB
  • LG 24X DVD Burner
  • Corsair Hydro Series H75
  • Microsoft Windows 8.1 Professional 64-bit

The main difference between this build and the Gaming PC build is that we went with a less powerful, but still fairly capable, GPU. Since he wanted this build to last, we ended up keeping the 4770K and the newer Z97 chipset motherboard. We went with 8GB of RAM instead of 16GB, and we also substituted a 1TB WD Blue drive instead of the 3TB Seagate drive. This was because he didn’t need a lot of storage and neither of us are big fans of Seagate drives and their failure rates. The only other difference is that we went with the Corsair H75 closed loop liquid cooler instead of the stock heatsink and fan. My friend lives is California where it can get pretty hot and while he is not going to be overclocking at all that extra cooling should be helpful. Windows 8.1 took a little bit of convincing, but I got him a copy of Start8 which took care of his concerns.


Games 2

System Shock 2 Scene Remake

A user going by the name of Mr Smo has posted some screenshots over on the polycount forums showing off his plans to remake one of the most memorable scenes from System Shock 2 in CryEngine 3. I have always been on the fence as to whether or not I would like to see a full remake of System Shock 2, but his work on this one scene has me thinking it could be pretty cool if done properly. I don’t want to go into detail on what the scene is (potential spoilers), but those of you who played the game will instantly know what scene he is working on.

Mr Smo based his remake of the scene on this piece of artwork by JimHatama

Shodan_by_JimHatama

And here are some screenshots of his work in progress:

Games

BitBox Cases

BitBoxes

With the Retron 5 releasing soon, I decided to get my collection of Retro Games in good working condition. I opened and cleaned all of my NES cartridges, and also decided to replaced the 72-pin connector in my NES so I could test my cleaned games before getting the Retron.

Cleaning all of the games is a lot of work, so I was looking for a way to keep them clean so I hopefully wouldn’t have to go through the time consuming process again. I bought some NES Game Sleeves. The quality was pretty decent, but they are fairly ugly. I wanted to find something that would keep my games dust free but also be something I would want to show off.

That is when I came across the BitBox cases from Stone Age Gamer. These cases remind me of the old plastic VHS boxes. They are big, sturdy, and look great. They offer to print out the cover art for you, or you can download and print it out yourself. The box art comes from The Cover Project, but they have slightly altered it to keep the aspect ratio correct for the box. They don’t have art for everything, but most of it is there. Personally, I had them print it out for me. It was worth it not having to take the time to do it, and the cost of printing it yourself is fairly high when you factor in the need to get decent quality legal sized presentation paper and ink (more on this in my upcoming post on UCGs and my N64 library). You also have the option to add a pouch for game manuals to your order. These come on a sheet backed with adhesive, so you just peel them off and stick them inside the case.

I was hoping that the cover art would already be inserted into the cases before they shipped, but they come in a separate envelope so you have to sleeve them all in yourself. It was a bit of a bummer that they were not ready to go immediately, but inserting them all only took about 10 to 20 seconds per case. I was a bit worried about smudging the artwork, but the print quality seems to be pretty good and had no issues despite touching them when inserting the covers.

The only real downside to the cases is that they are pretty expensive for what they are. You can buy them in larger quantities to save some money, but this will result in either having too many or not enough cases for many people. Personally I had about 12 left over from my order, but I plan to expand my collection so I think those will get used at some point. The breakdown of my order was:

Order

The price definitely makes these a product aimed at the serious collector, since I can’t really see a casual person dropping $100+ dollars on cases (individual cases are $4). Still, the cases themselves are pretty nice. If you are in the market for this kind of thing I would recommend them assuming you can handle the price tag. If not, there are always those NES Game Sleeves I mentioned.