Category: Tech

Games Tech

Dreamcast Modding Adventure

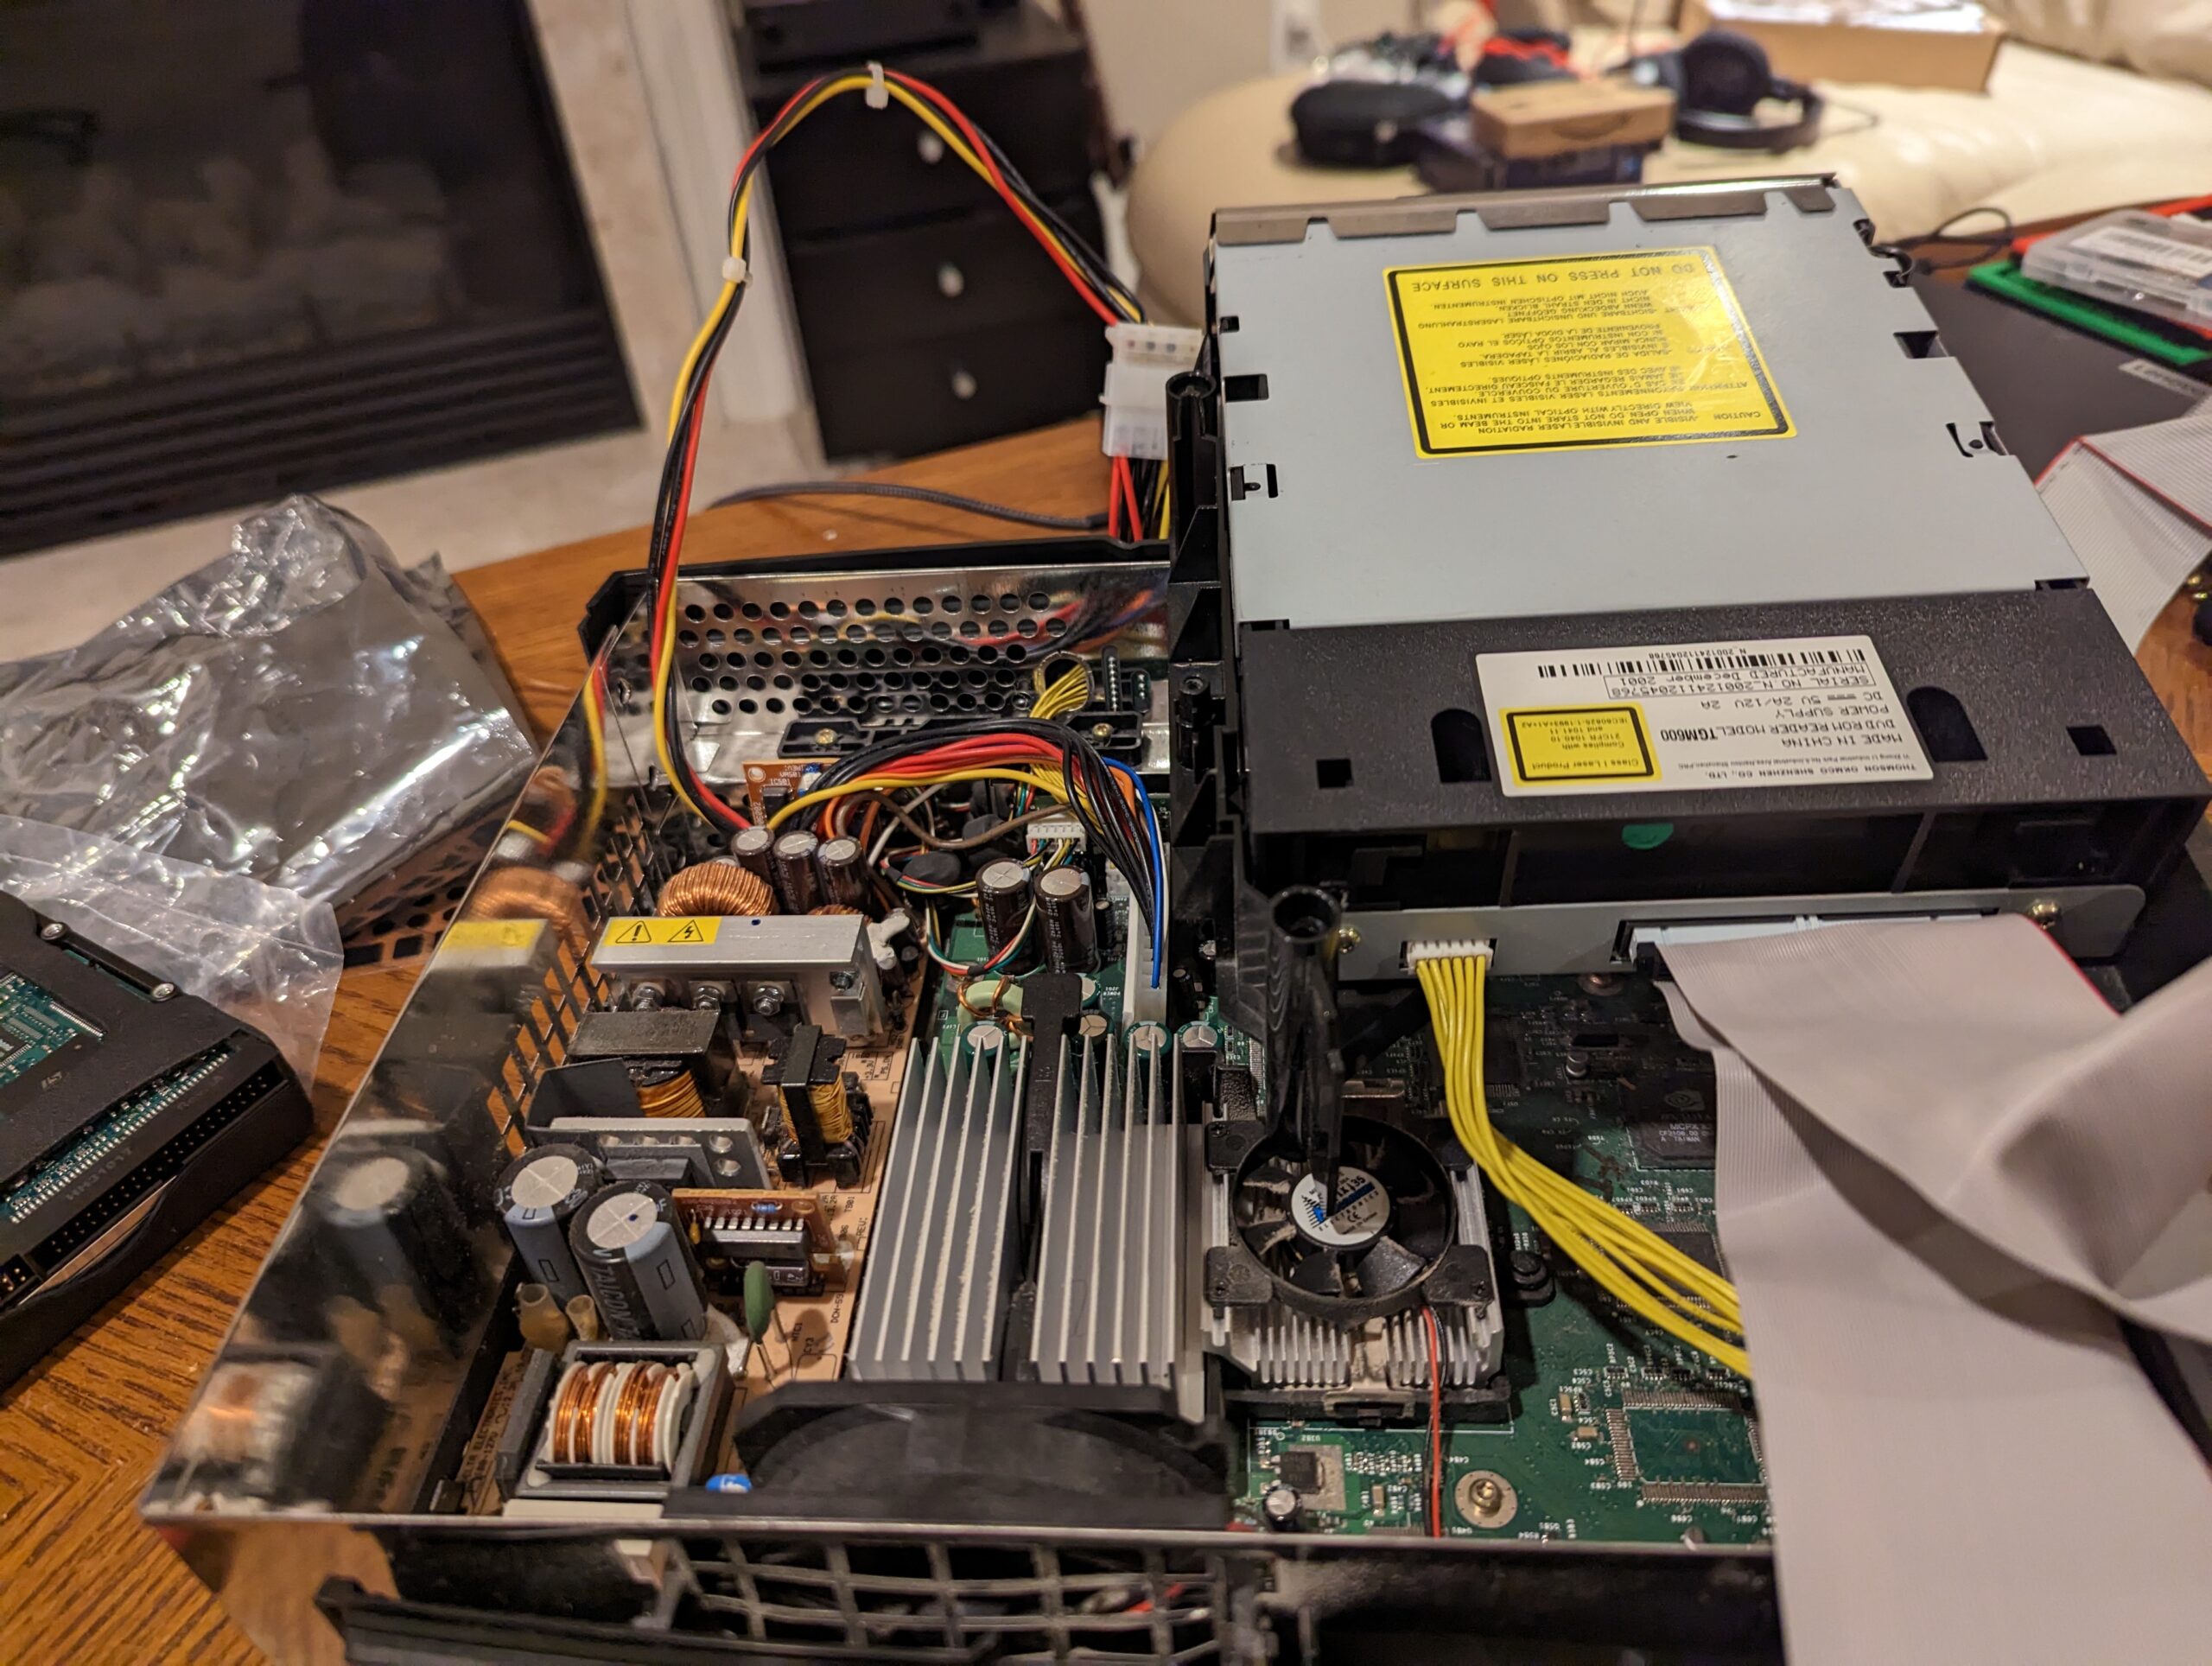
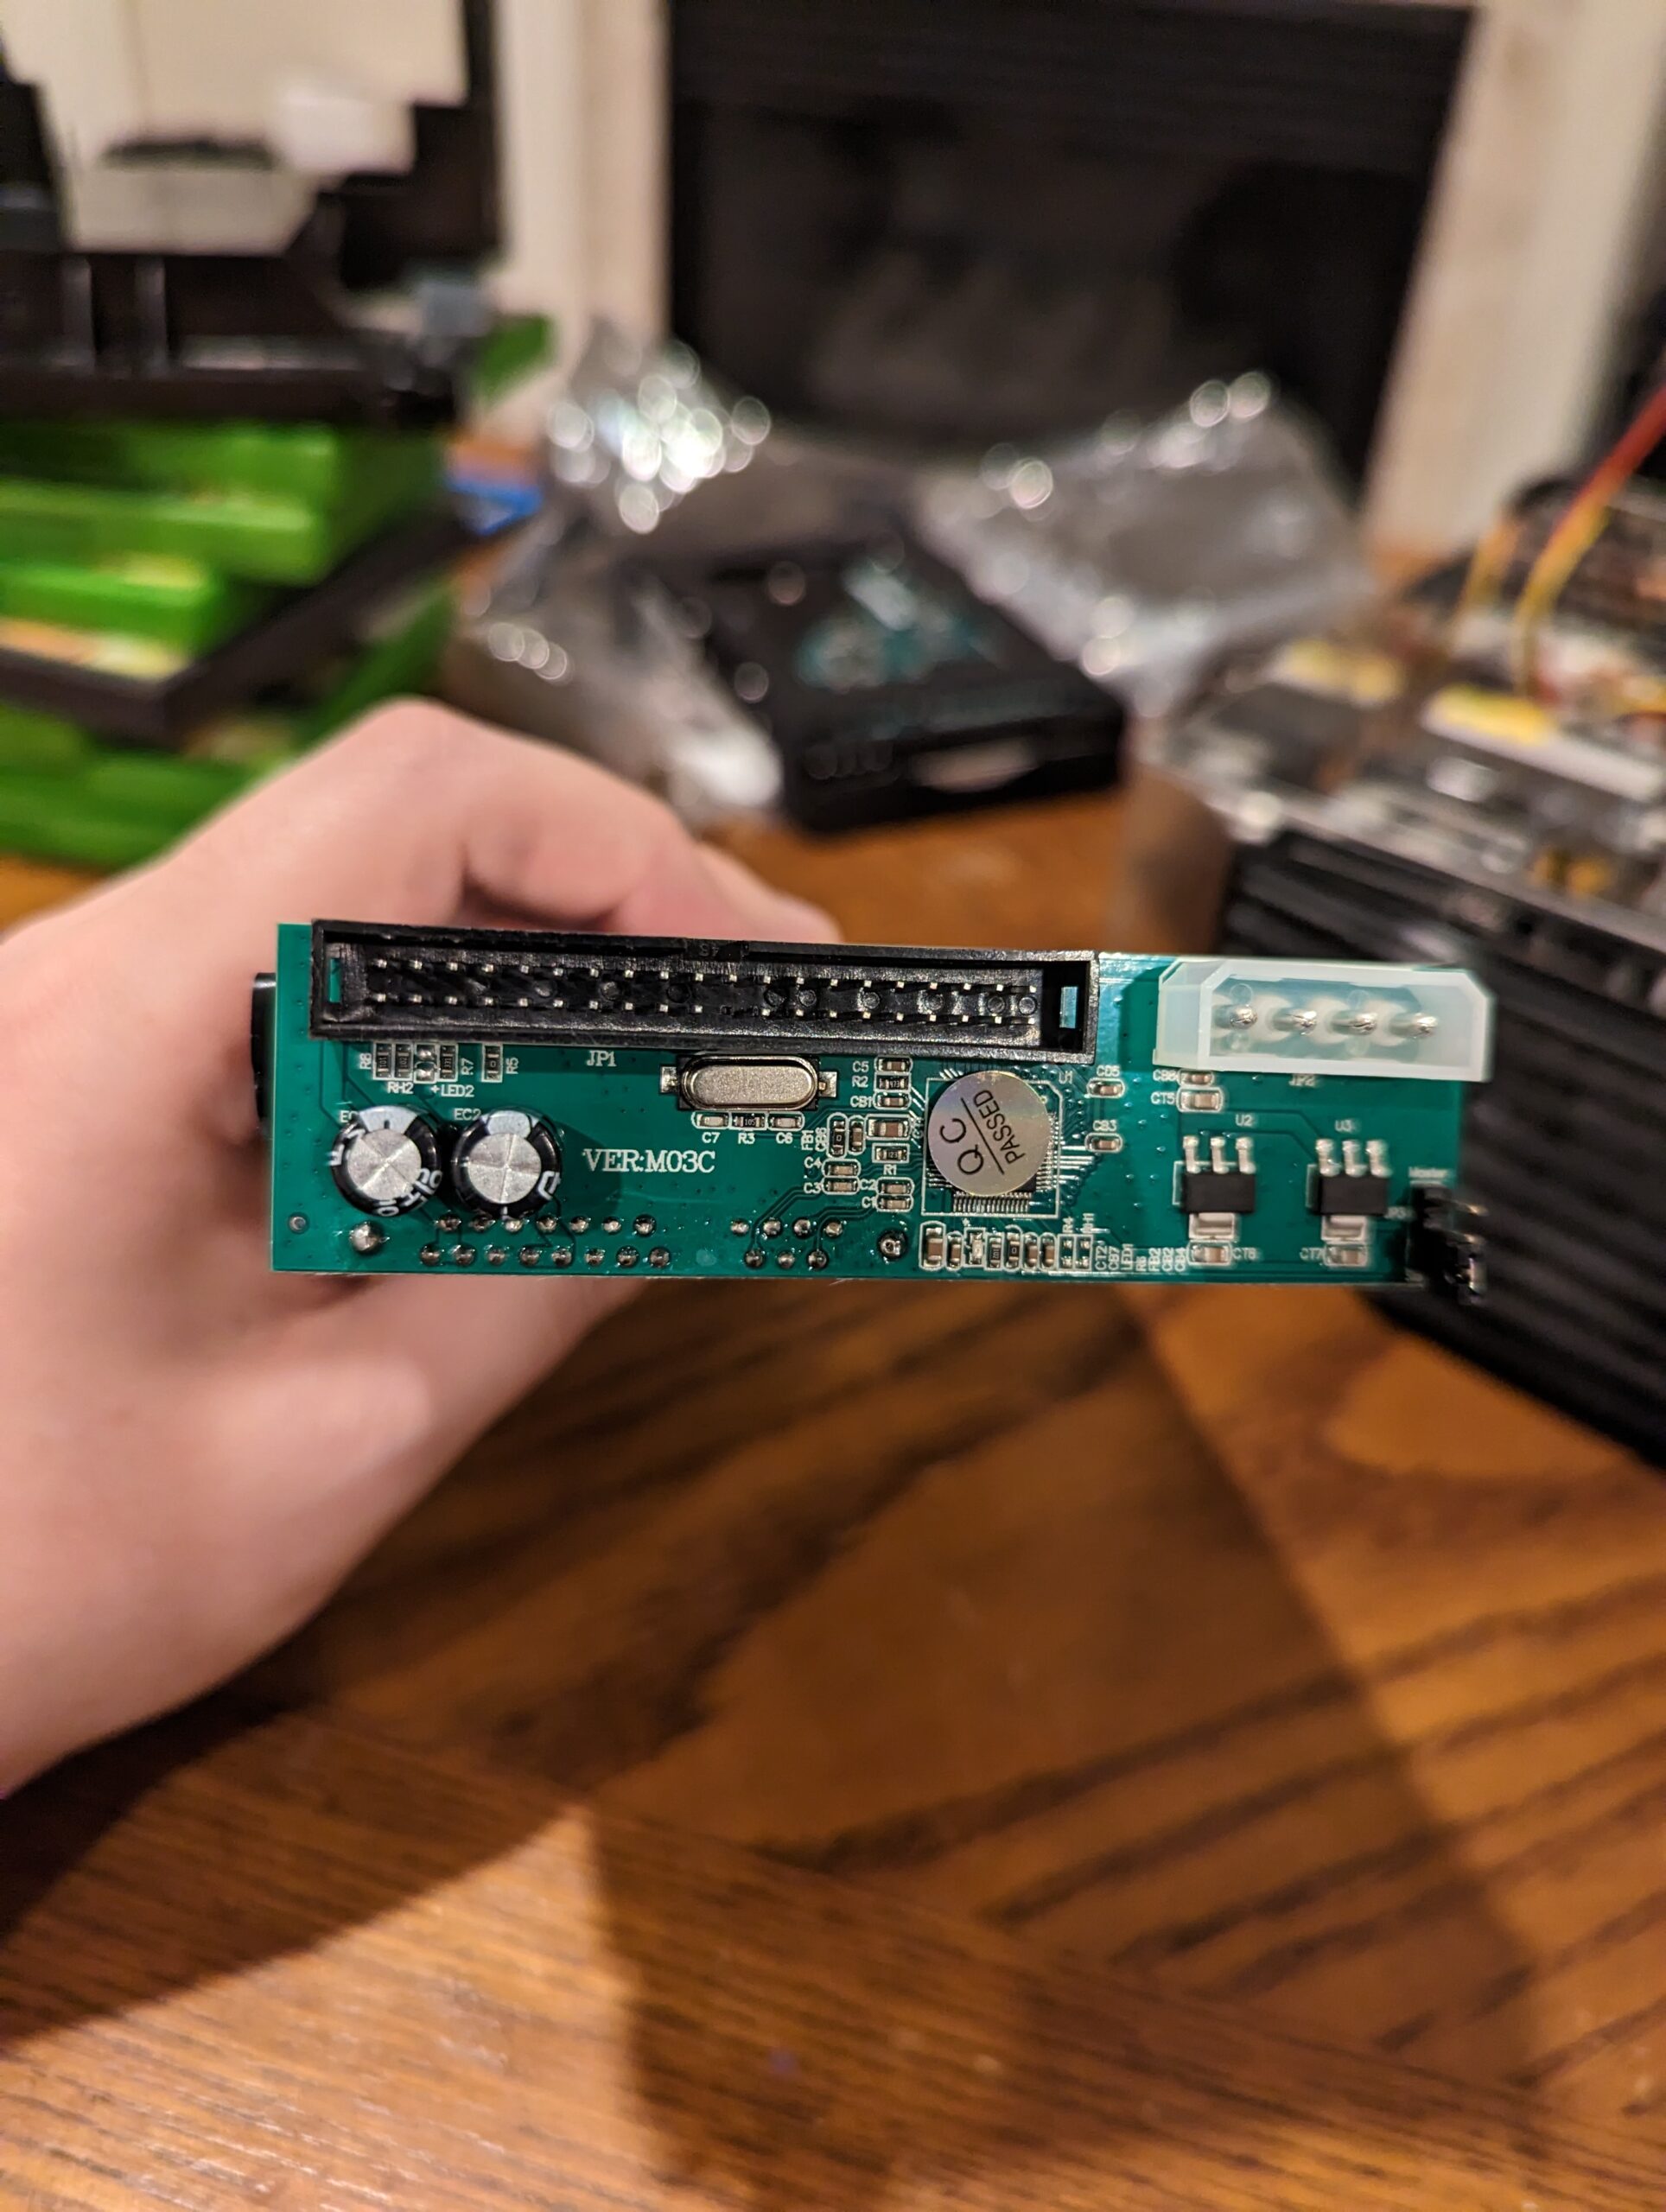
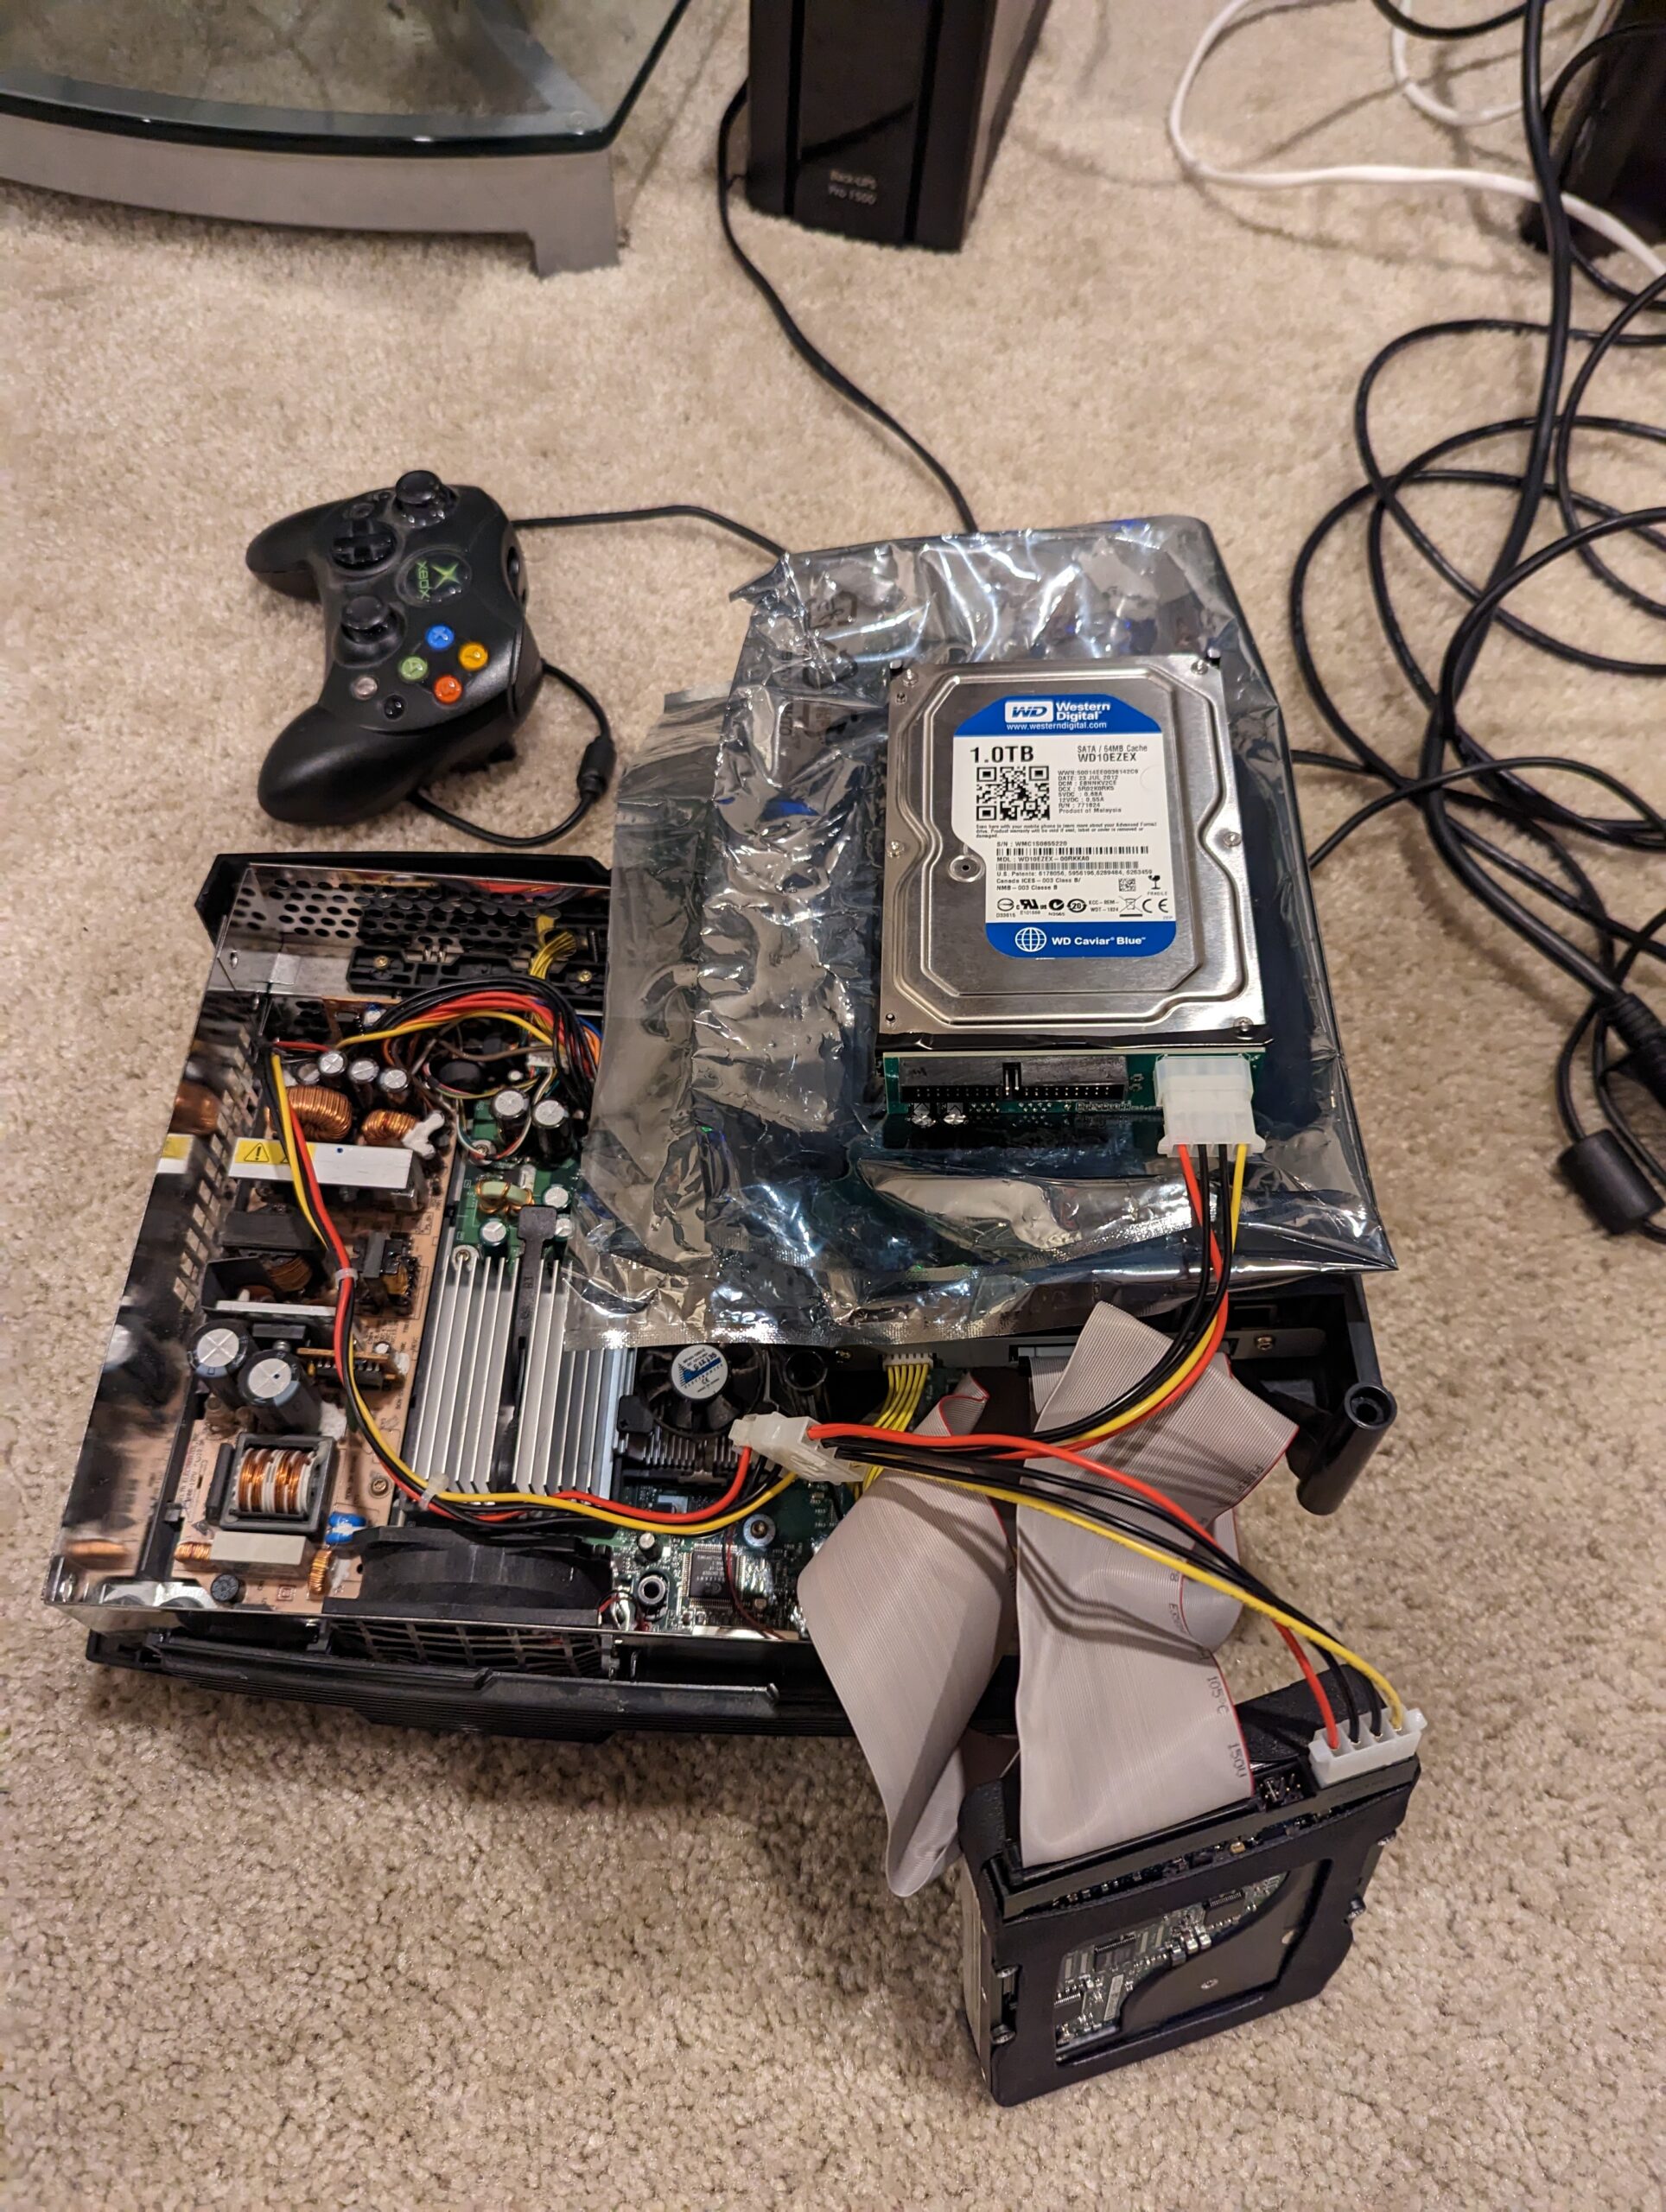
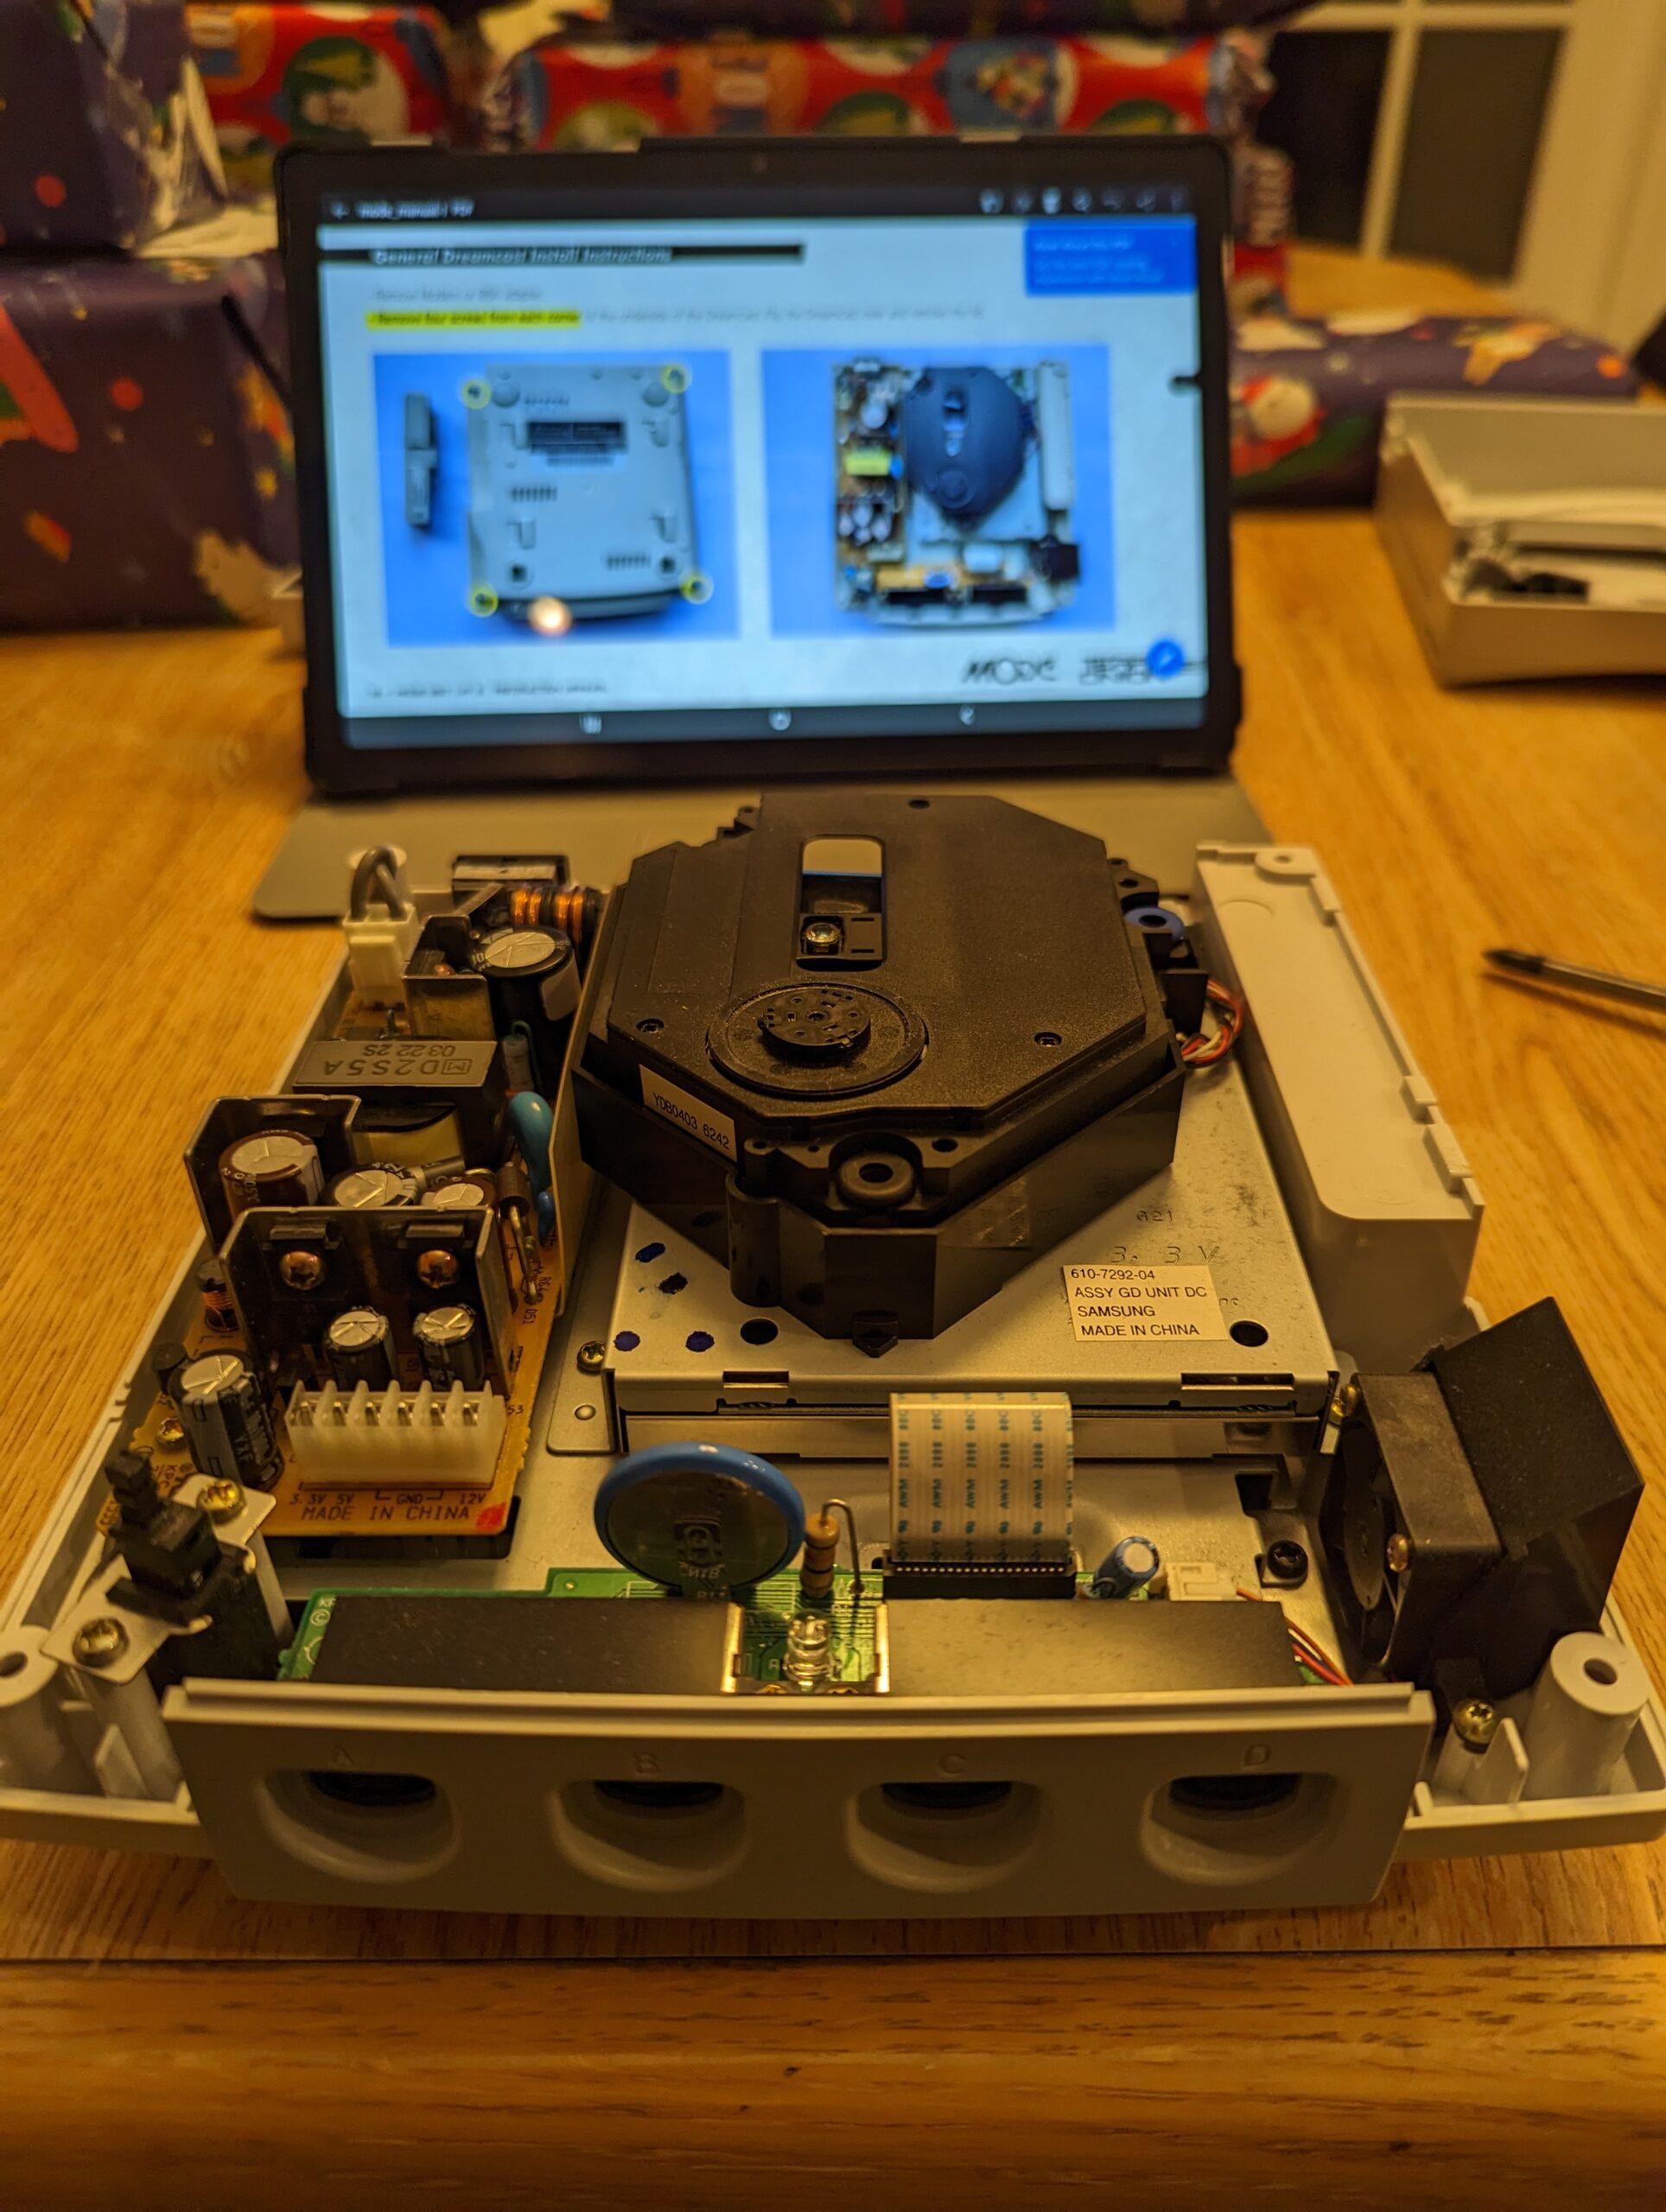
Here are some of the modifications I made to my Dreamcast recently. The first thing I did was get a Terraonion MODE. The MODE is a optical drive emulator that replaces the GD-ROM drive. It allows you to load games from a storage device like a SSD or MicroSD card. Its a drop in replacement making it super easy to install. You just pull out the GD-ROM drive and slot the MODE into its place. If you want to make it even easier to install, you can get a MODE Mounting Bracket to go along with it. For the storage I went with a cheap PNY CS900 500GB solid state drive. Don’t worry about NAND type, endurance, read speeds, etc when it comes to choosing a SSD. You are probably only ever going to write to the drive once when you first set it up, and read speeds will be bottle-necked by the GD-ROM drive bus that all the data still has to go over. So just go with something cheap that has the capacity you want.

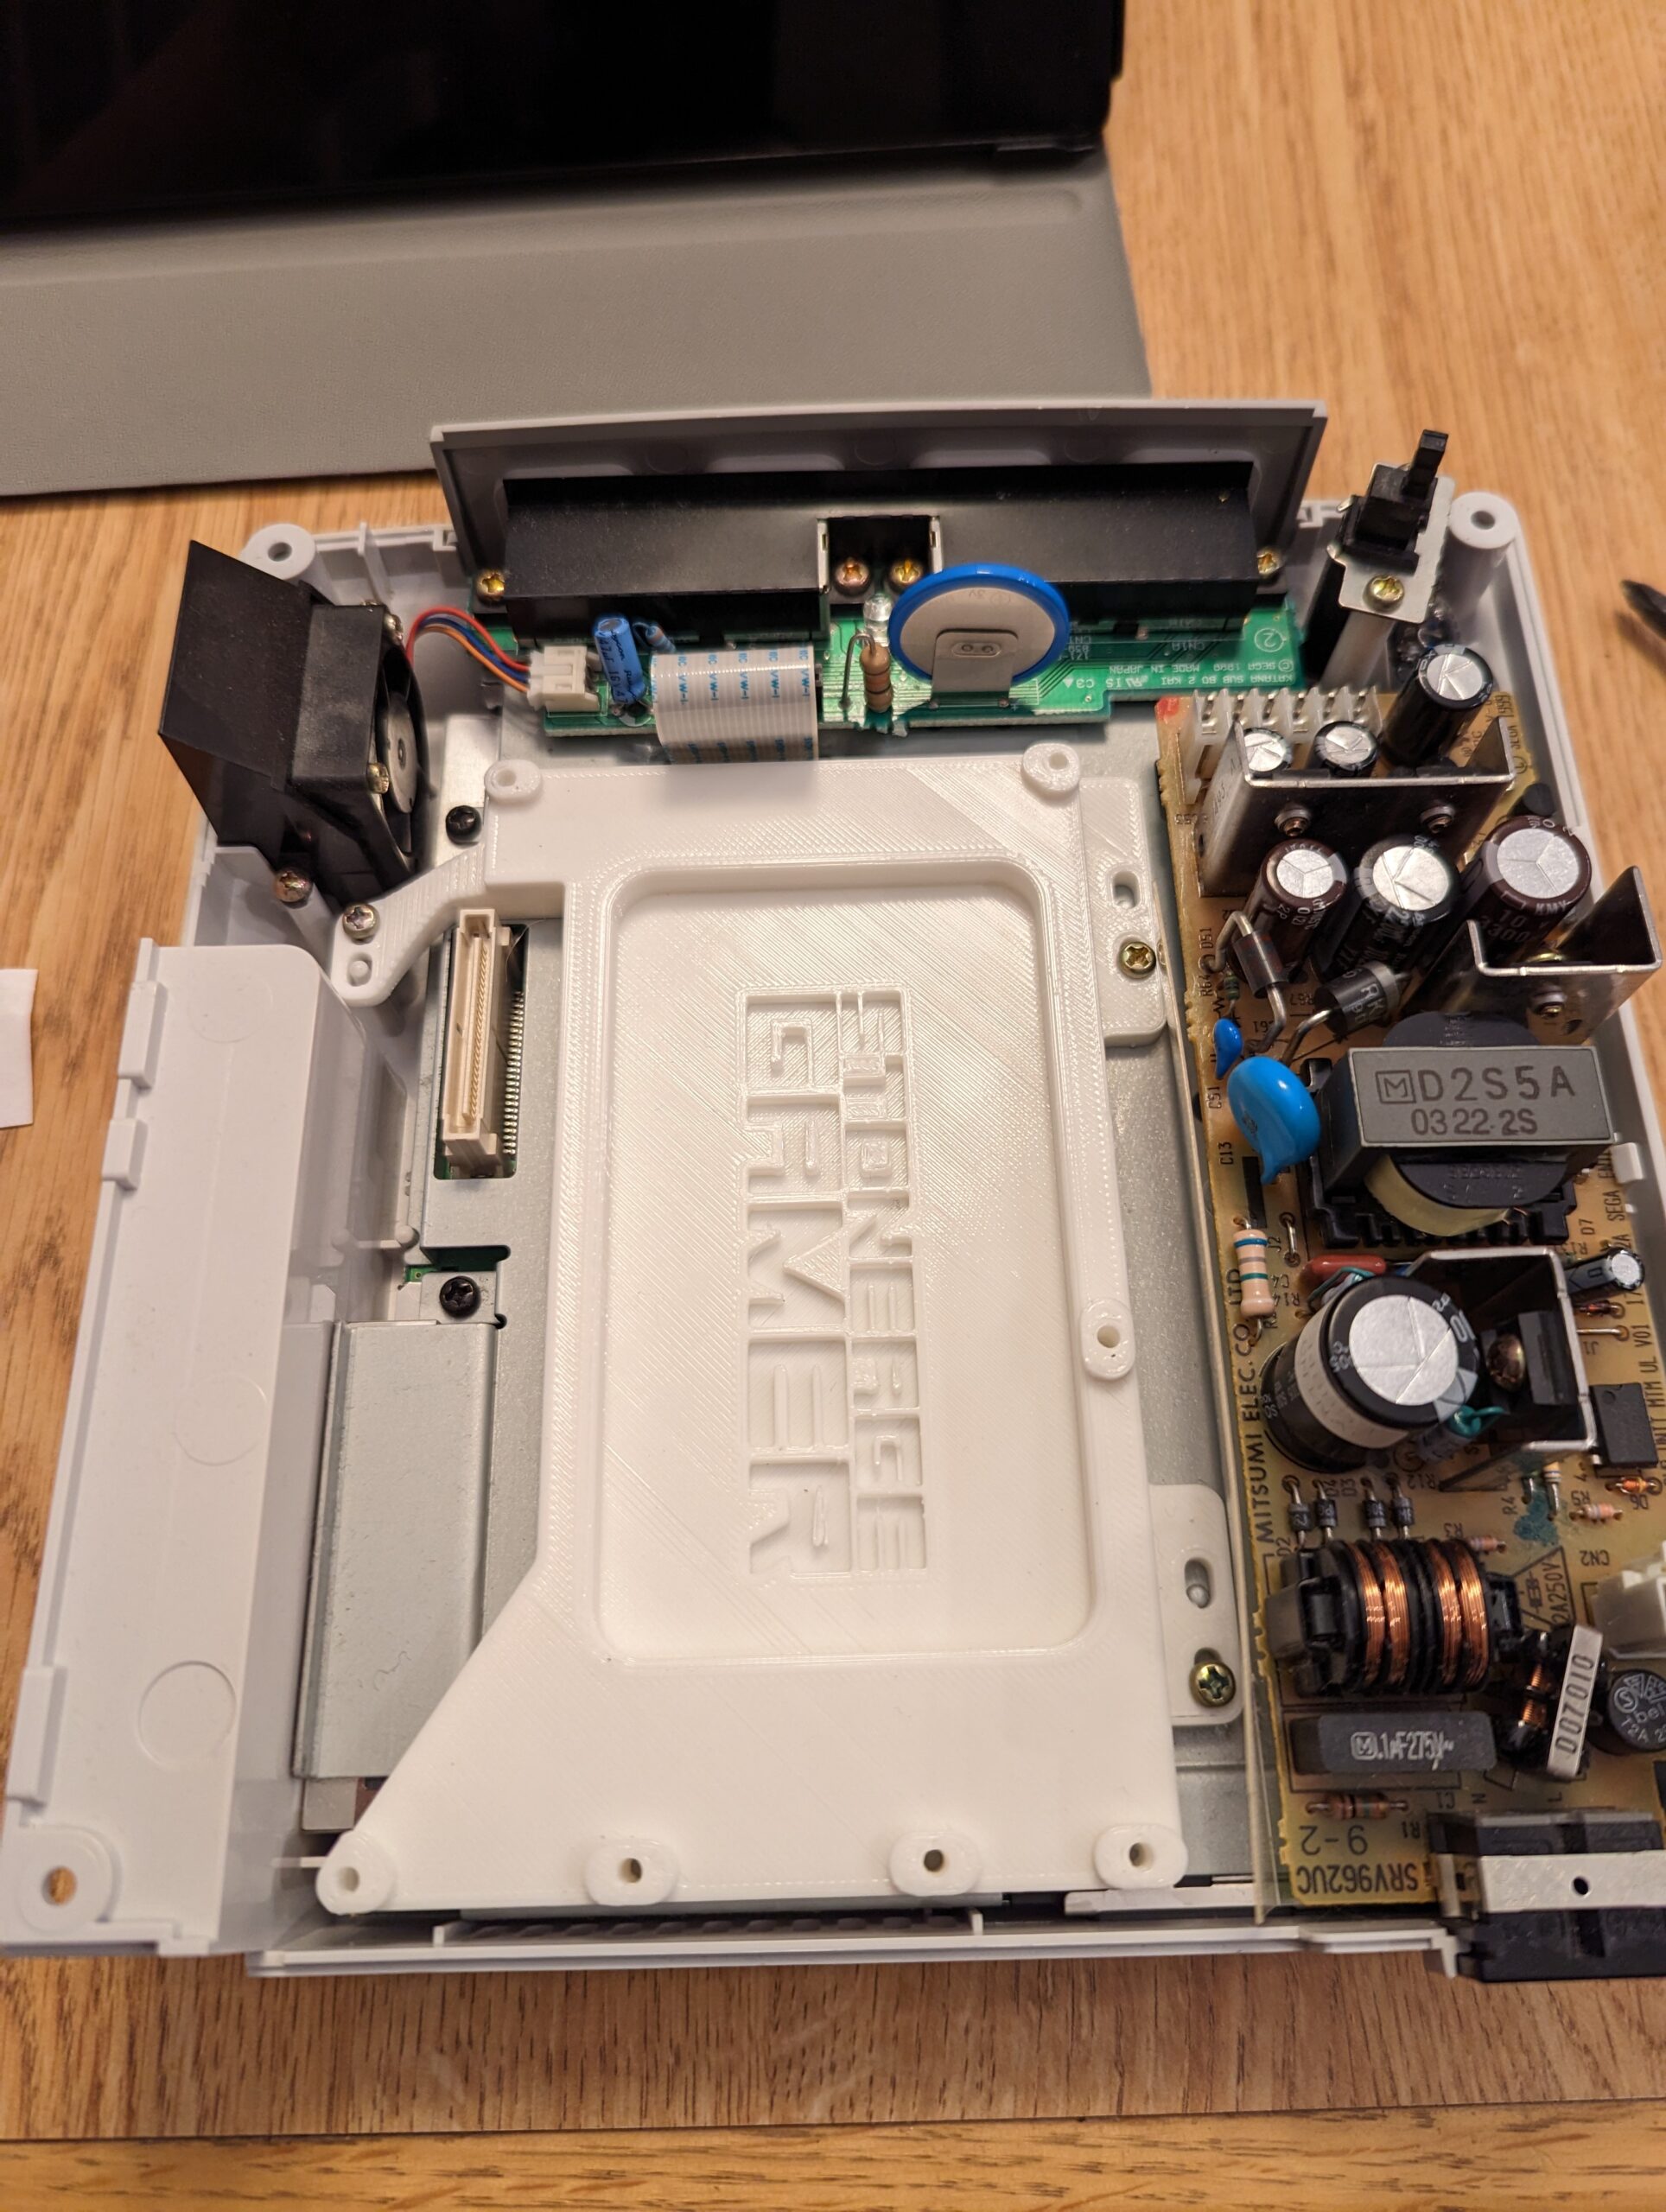
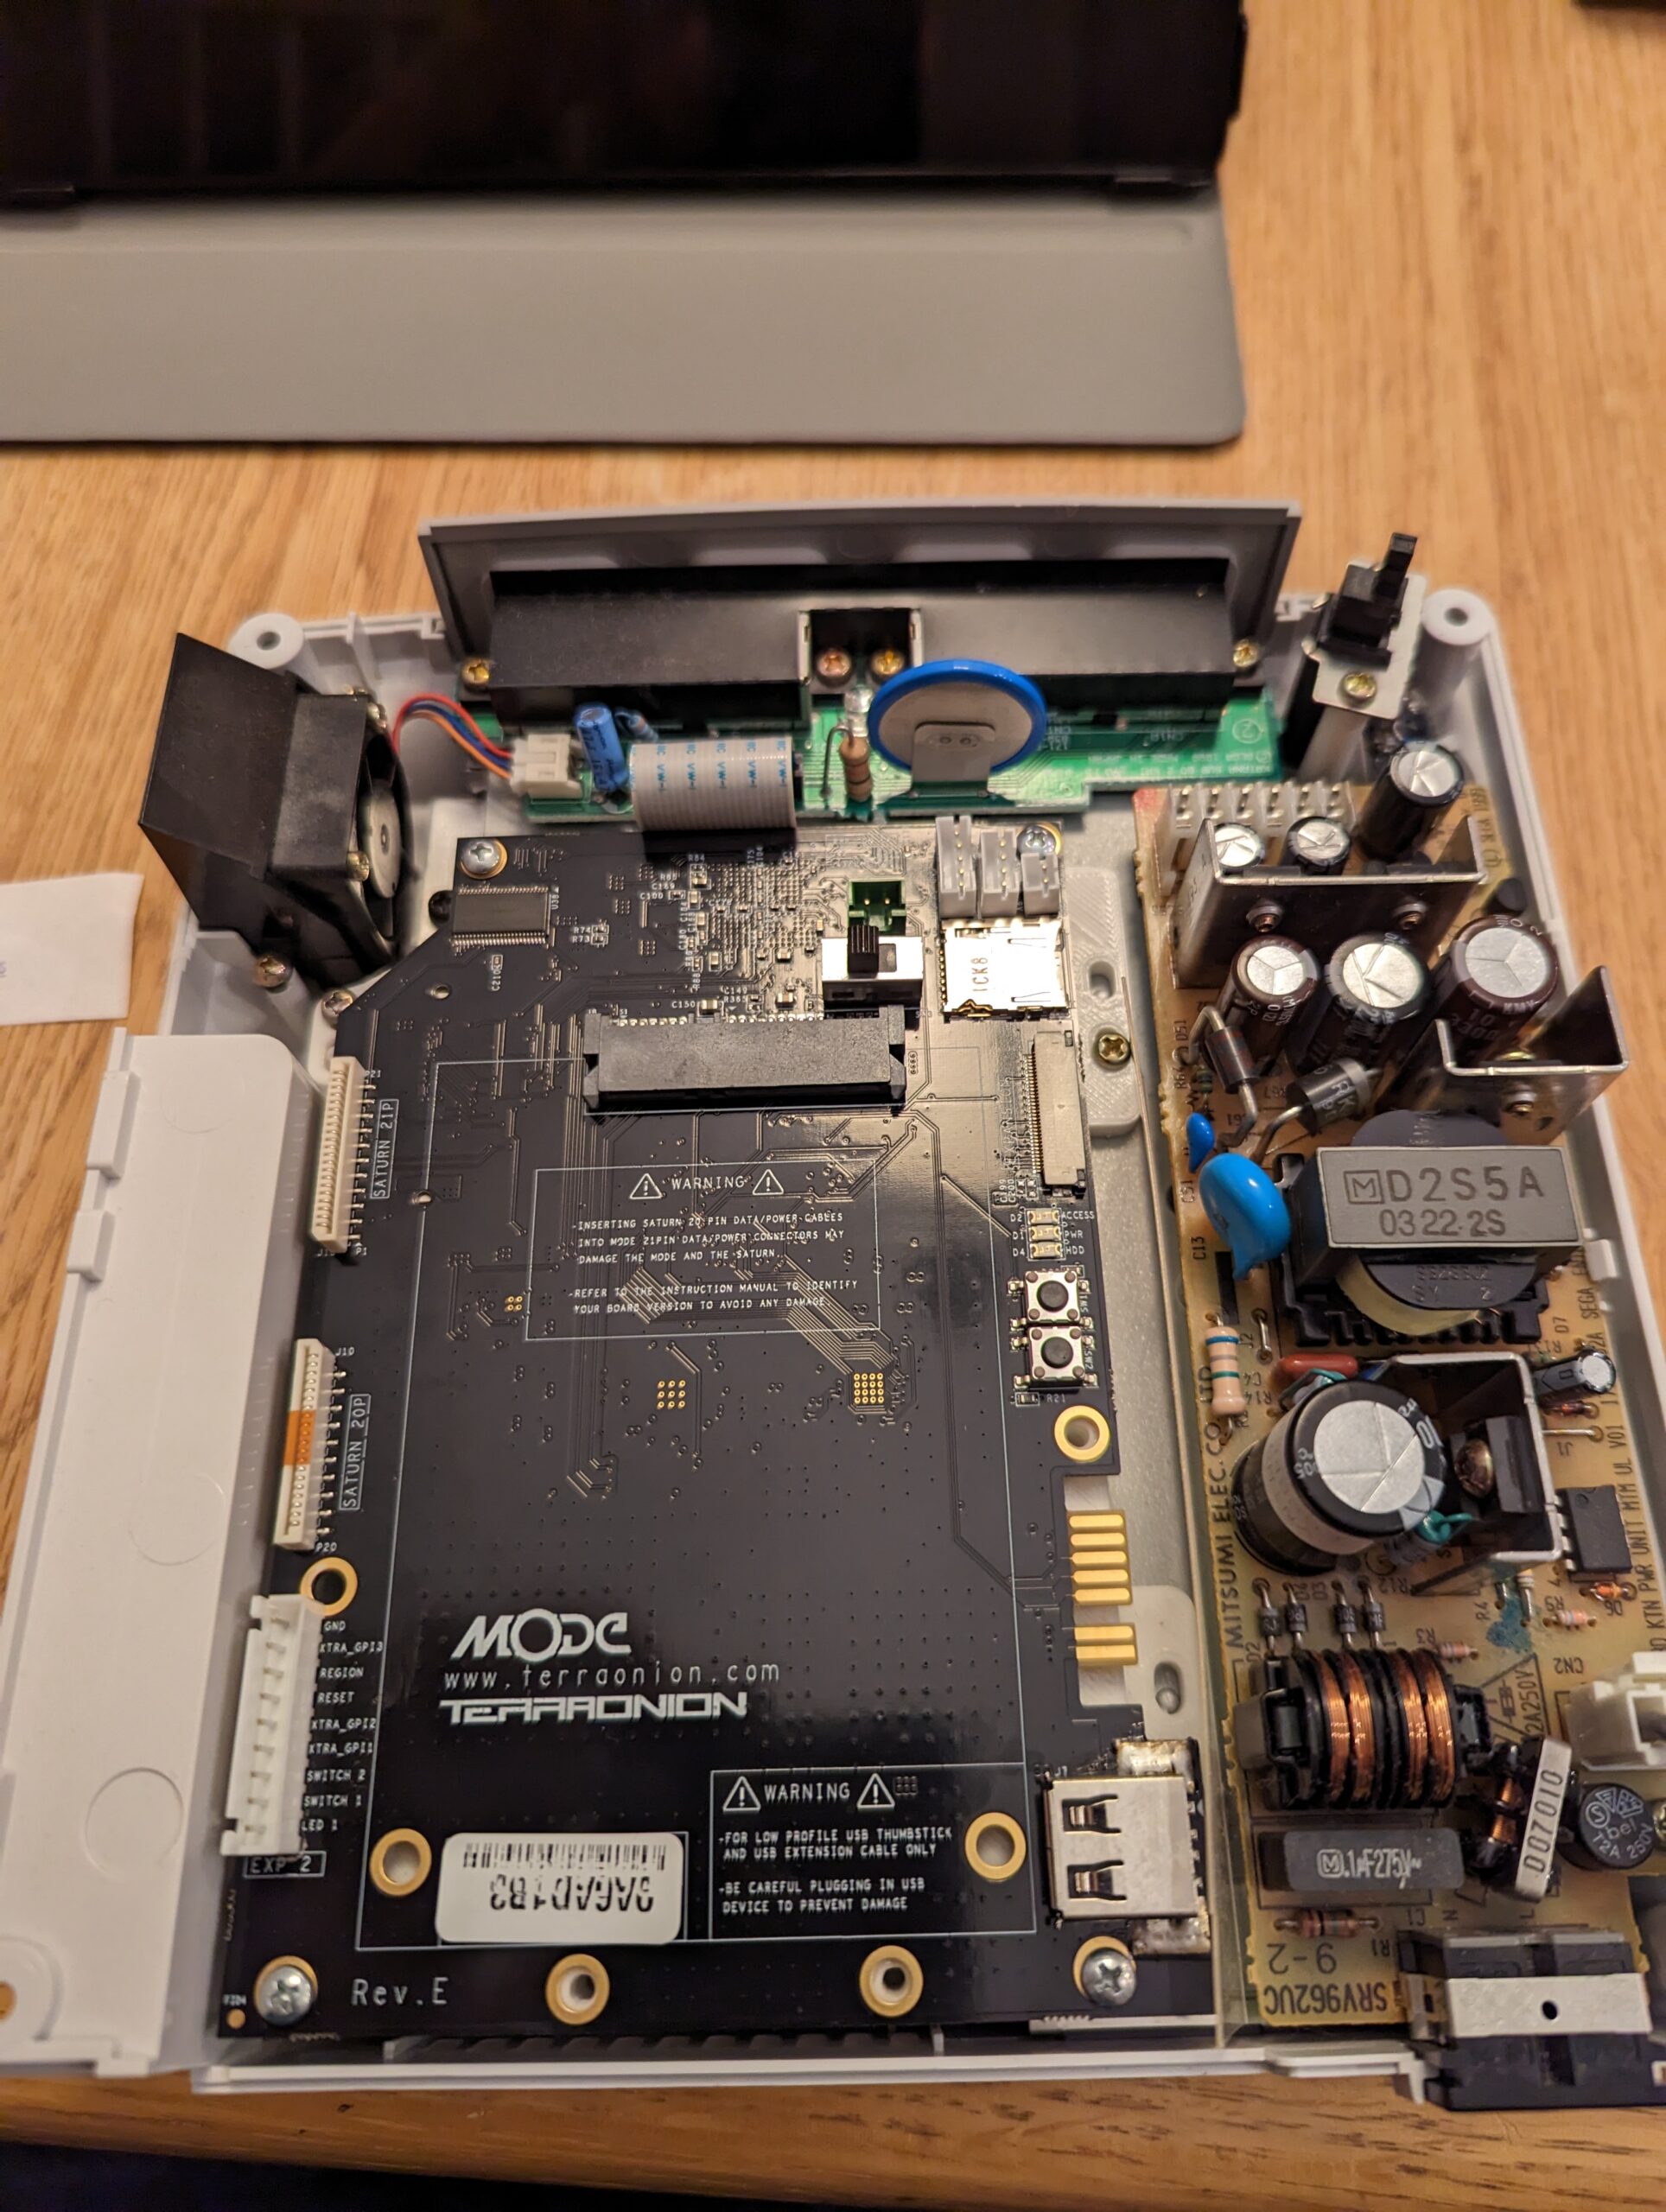
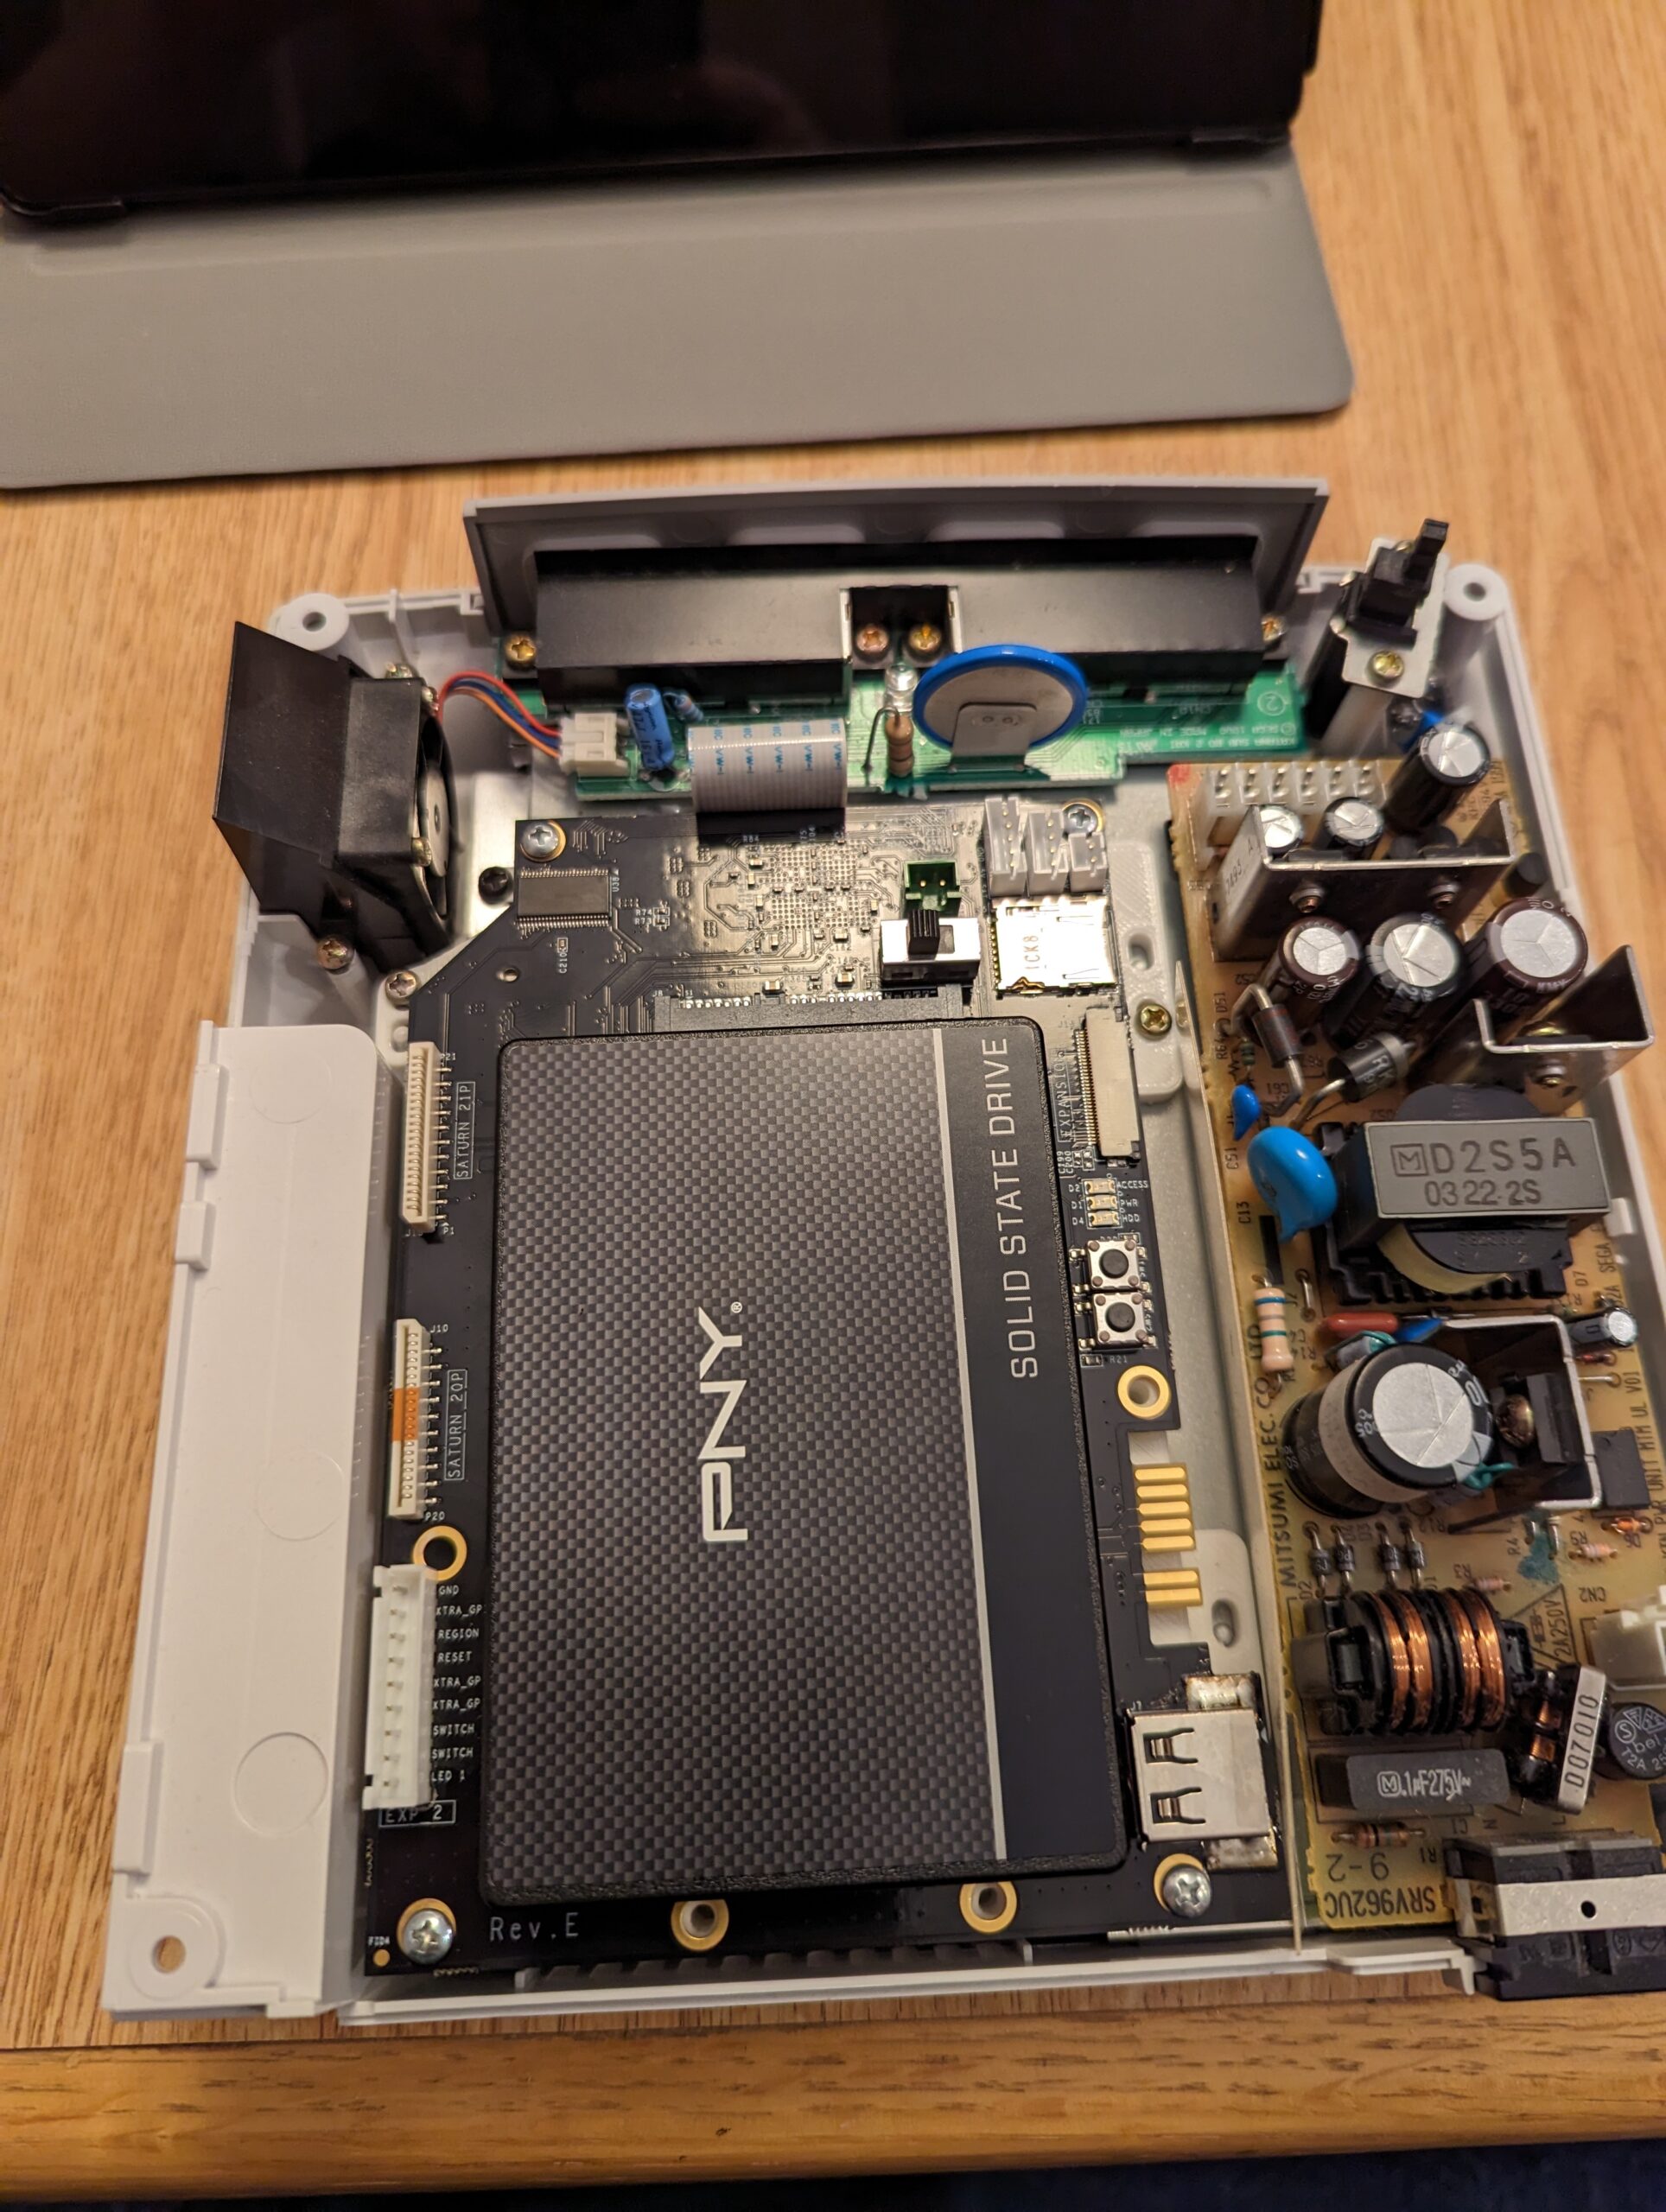
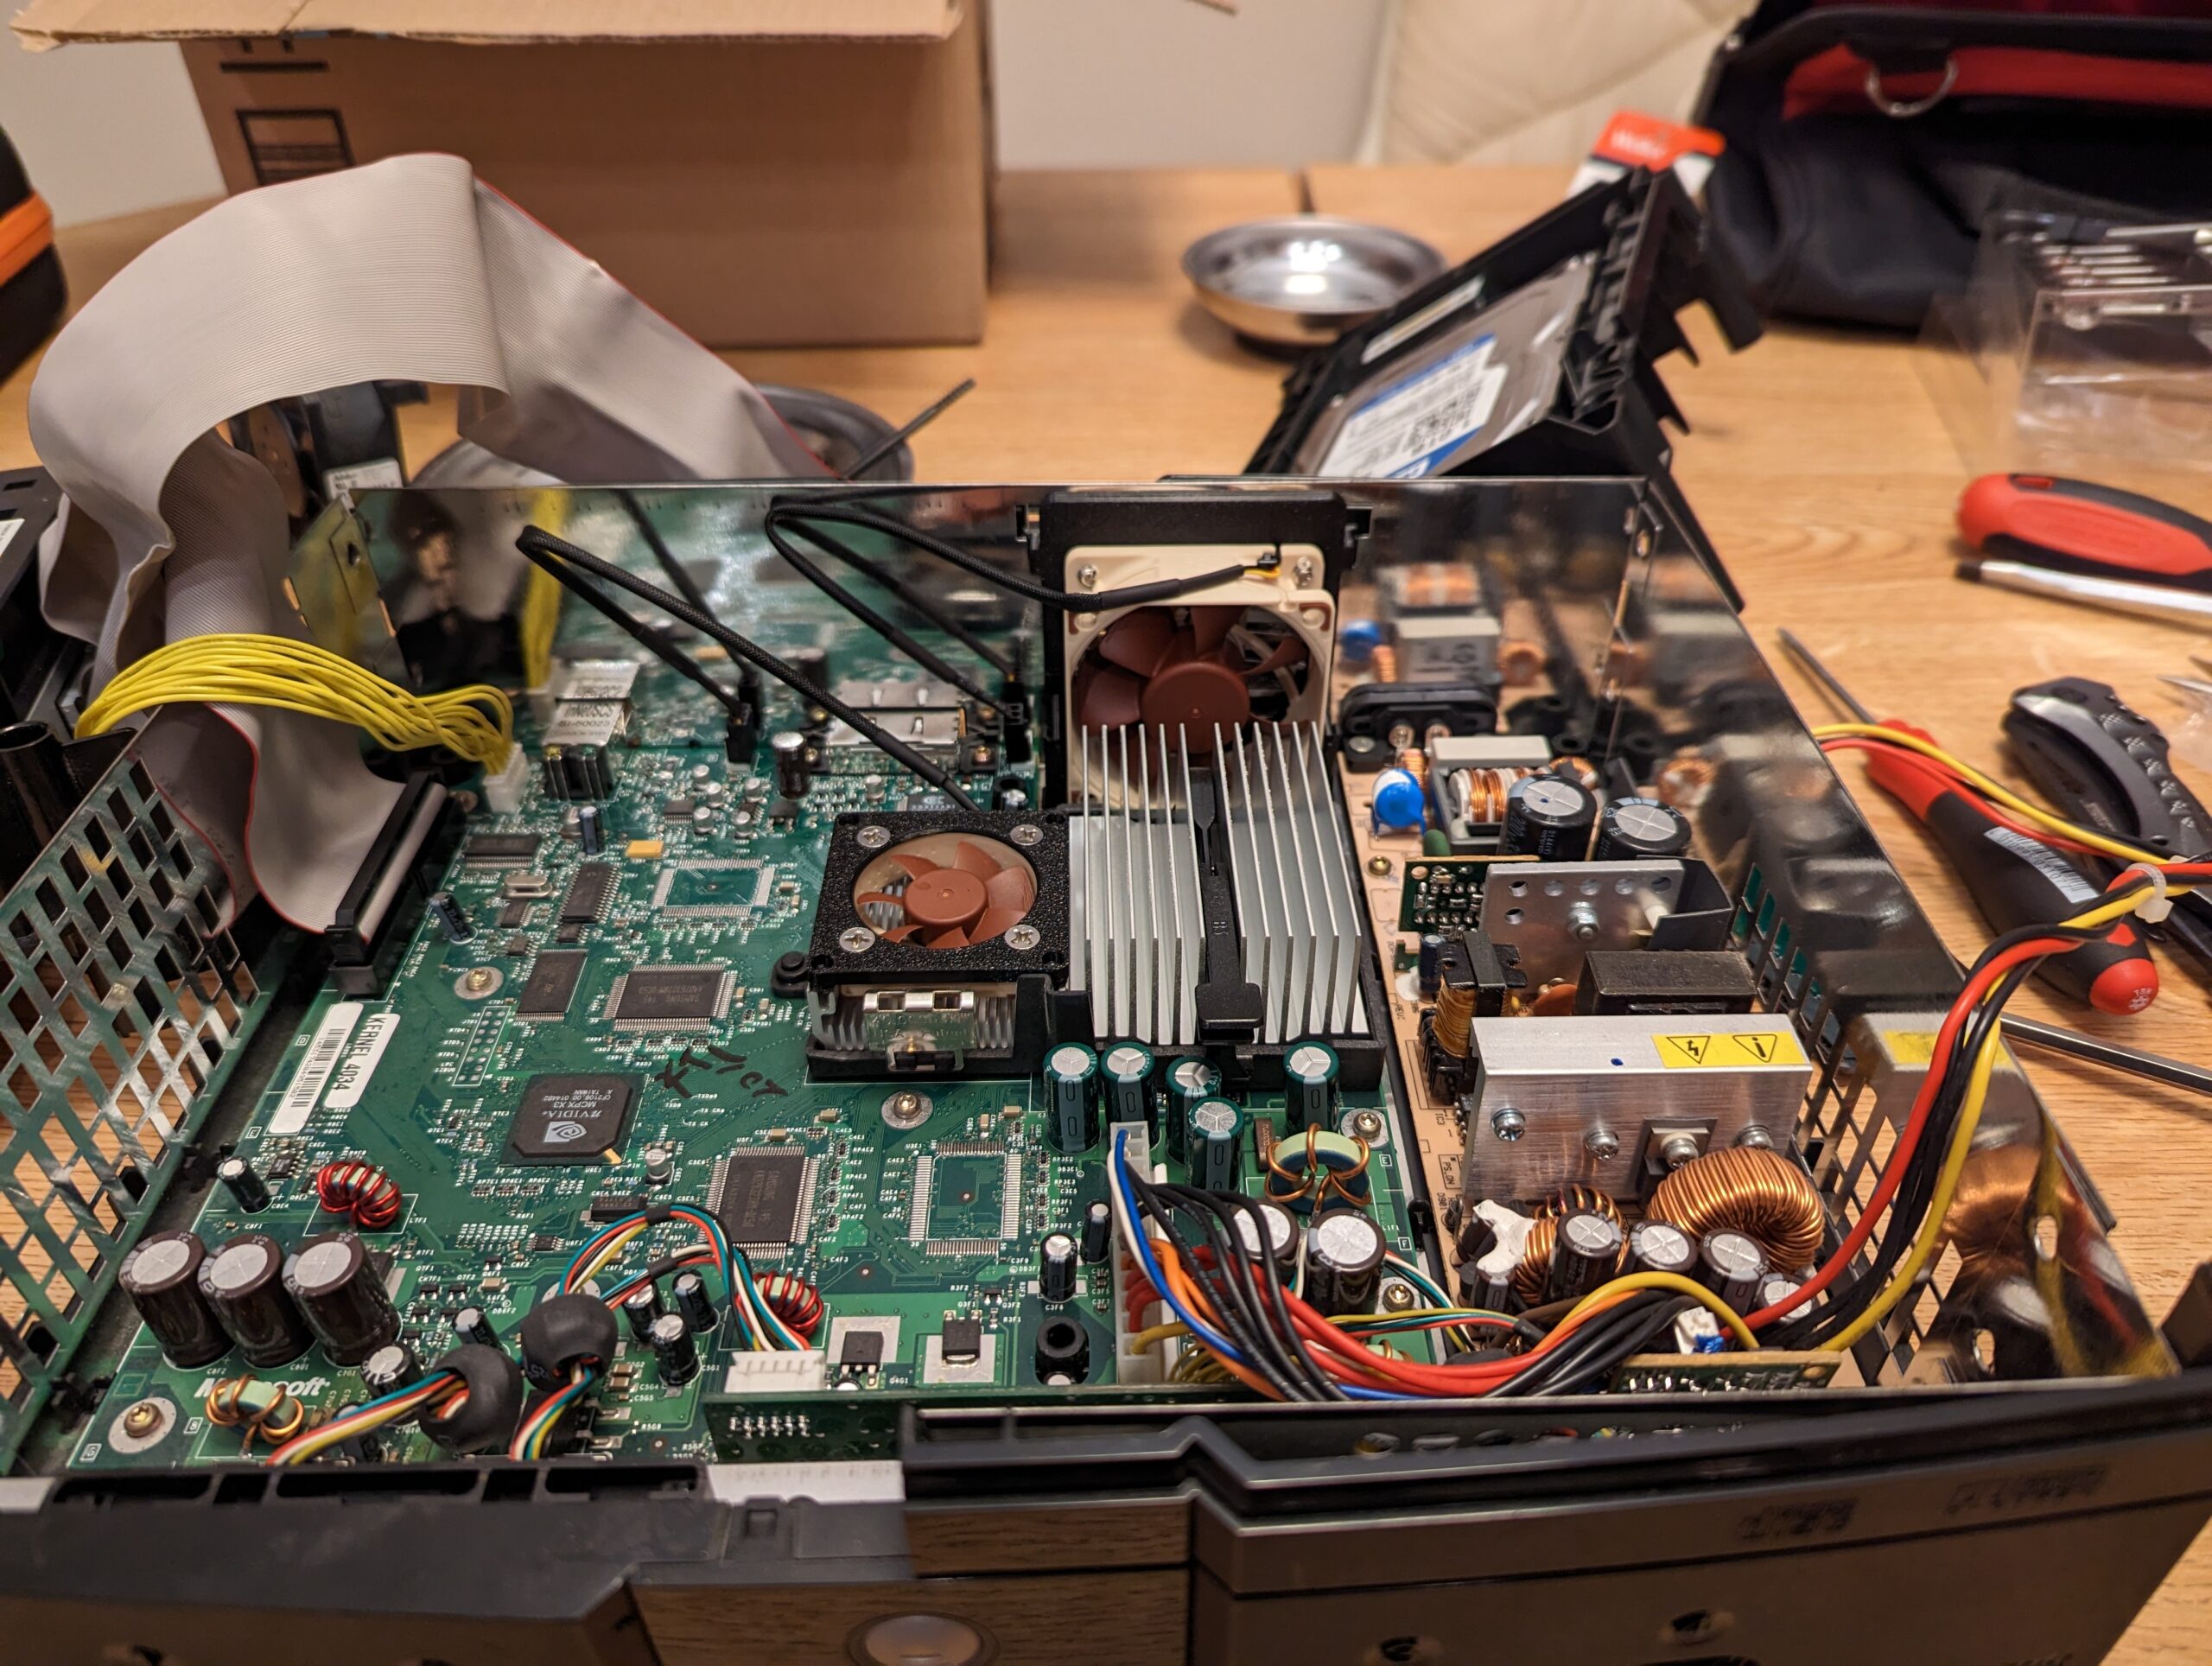
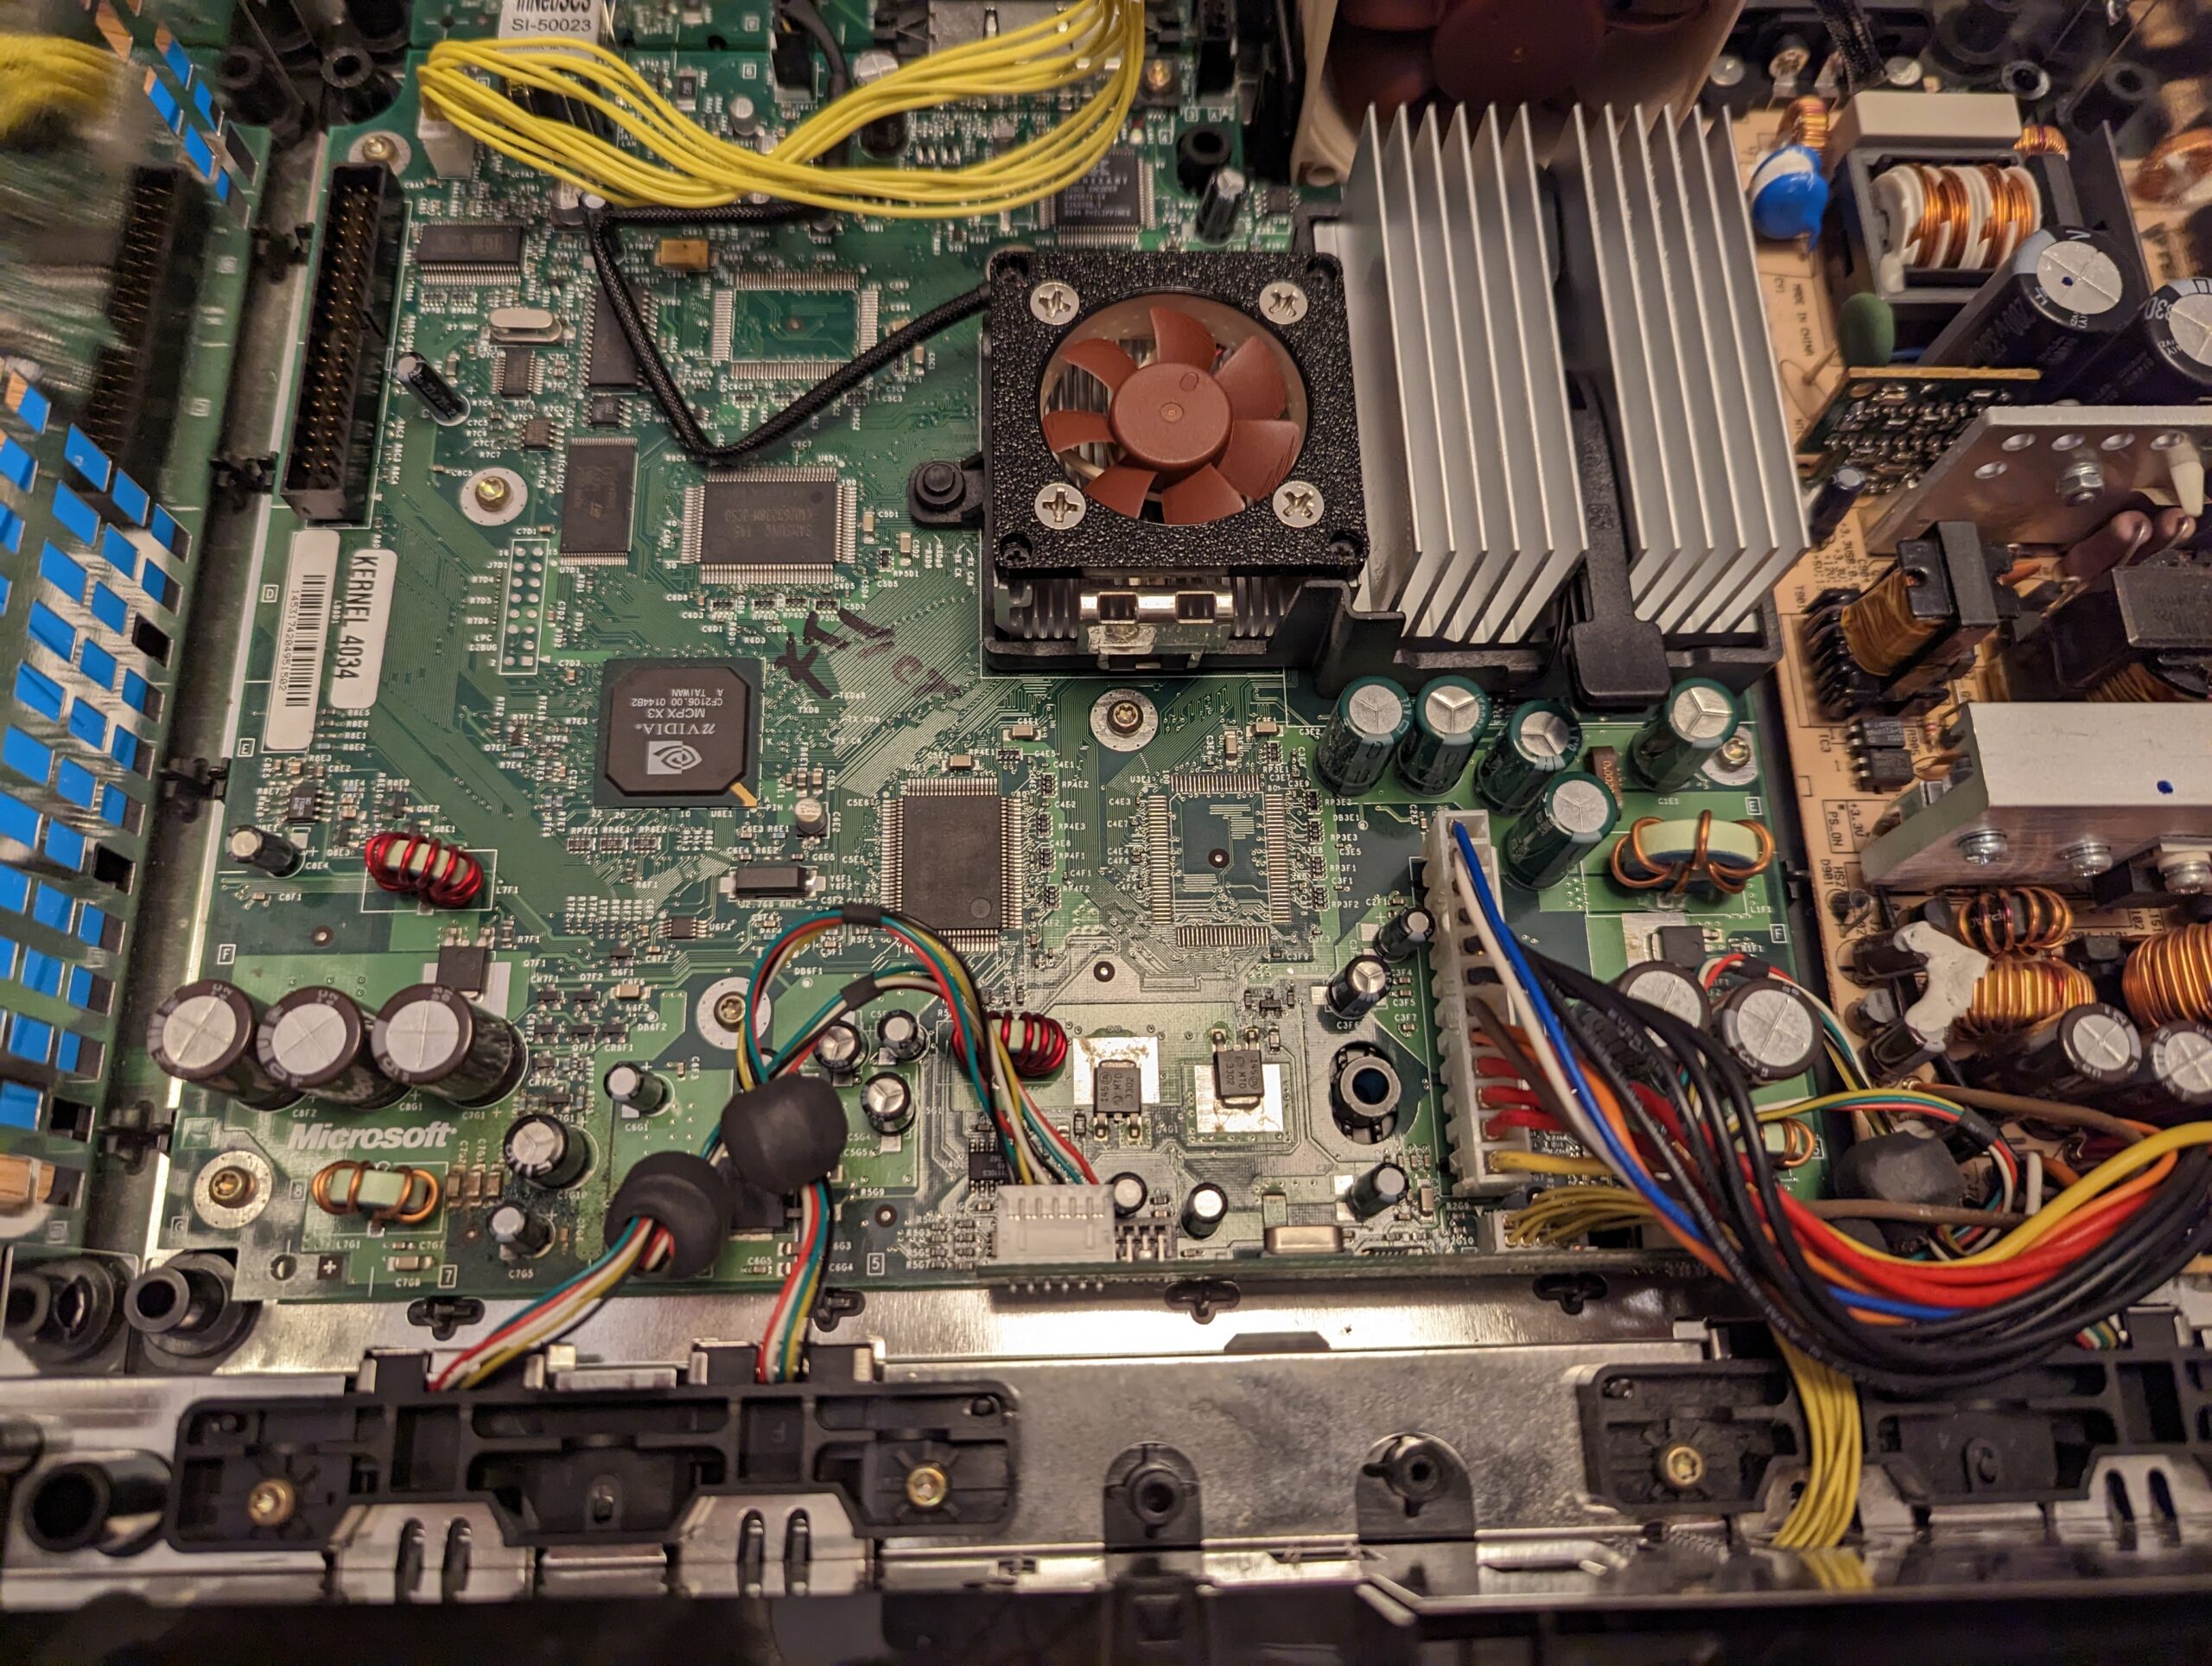
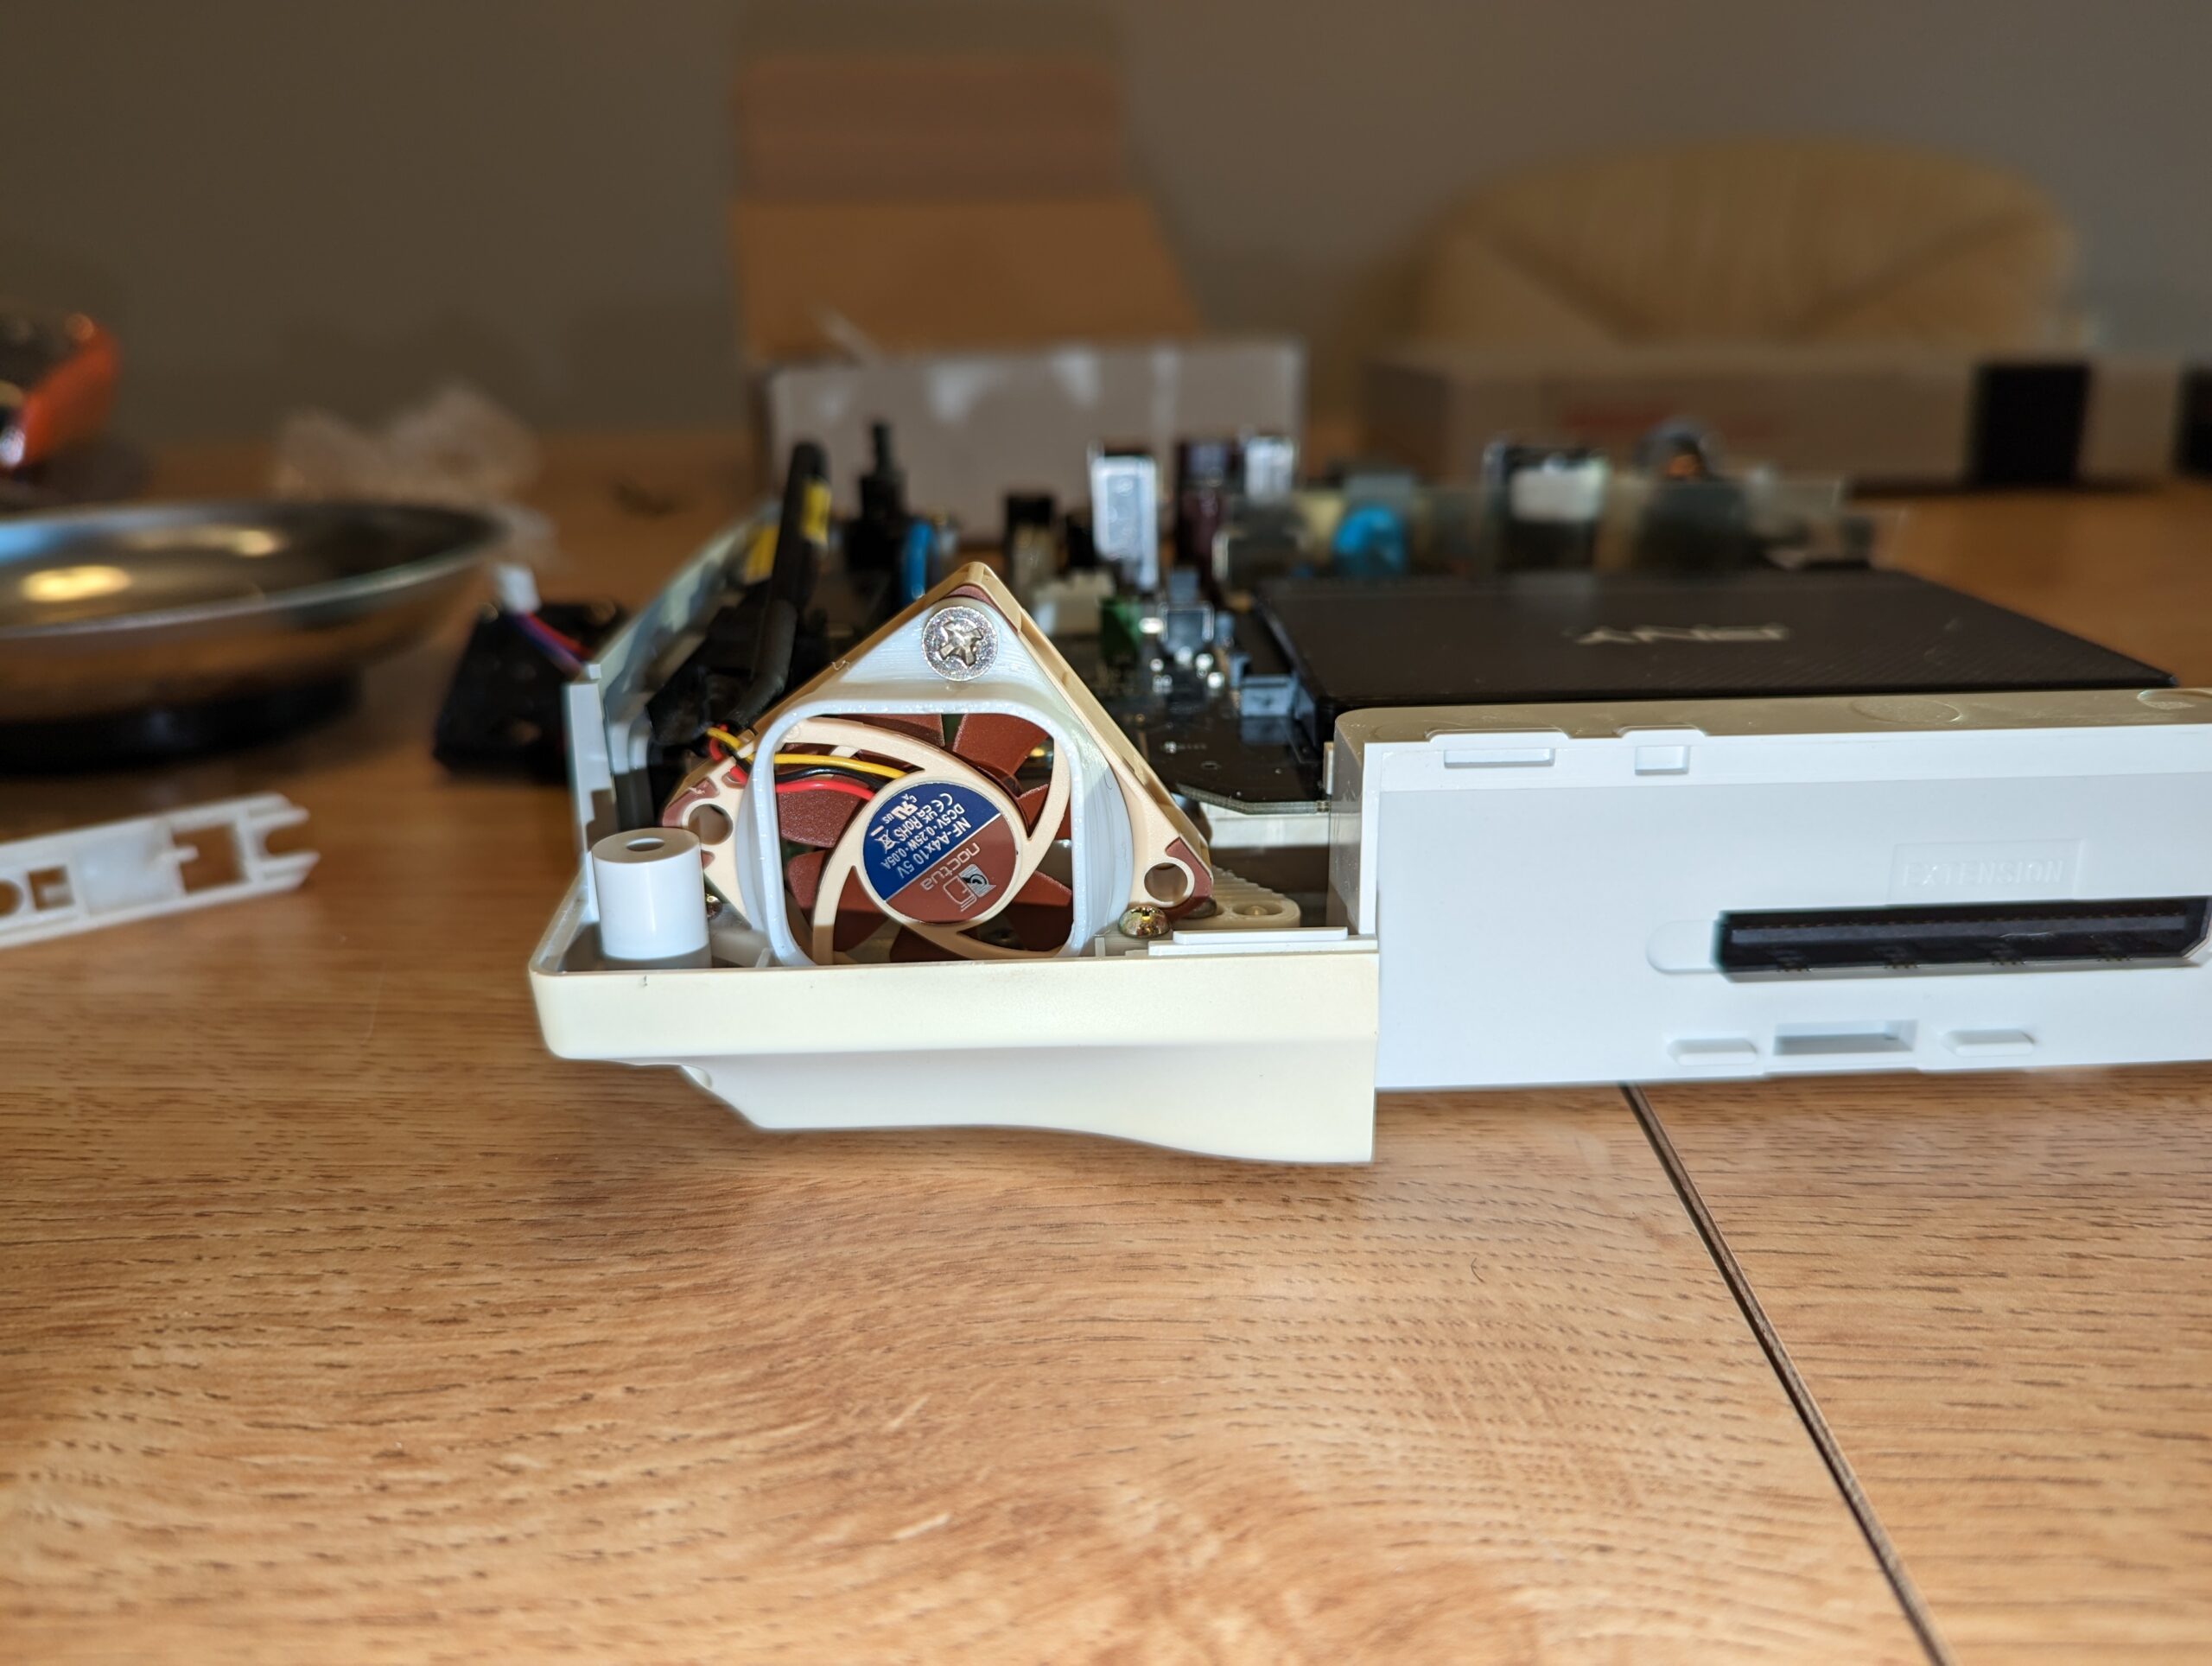
With the optical drive replaced, it becomes really noticeable how LOUD the stock fan is in the system. So I decided to replace it with a much quieter Noctua fan. In order to get this to work you will need a mounting bracket and a cable with a 10K resistor. Here is the parts list:

The cable is a bit long but there is plenty of room to tuck it out of the way. Make sure to install the replacement door release latch as well otherwise the new fan will interfere with the button.

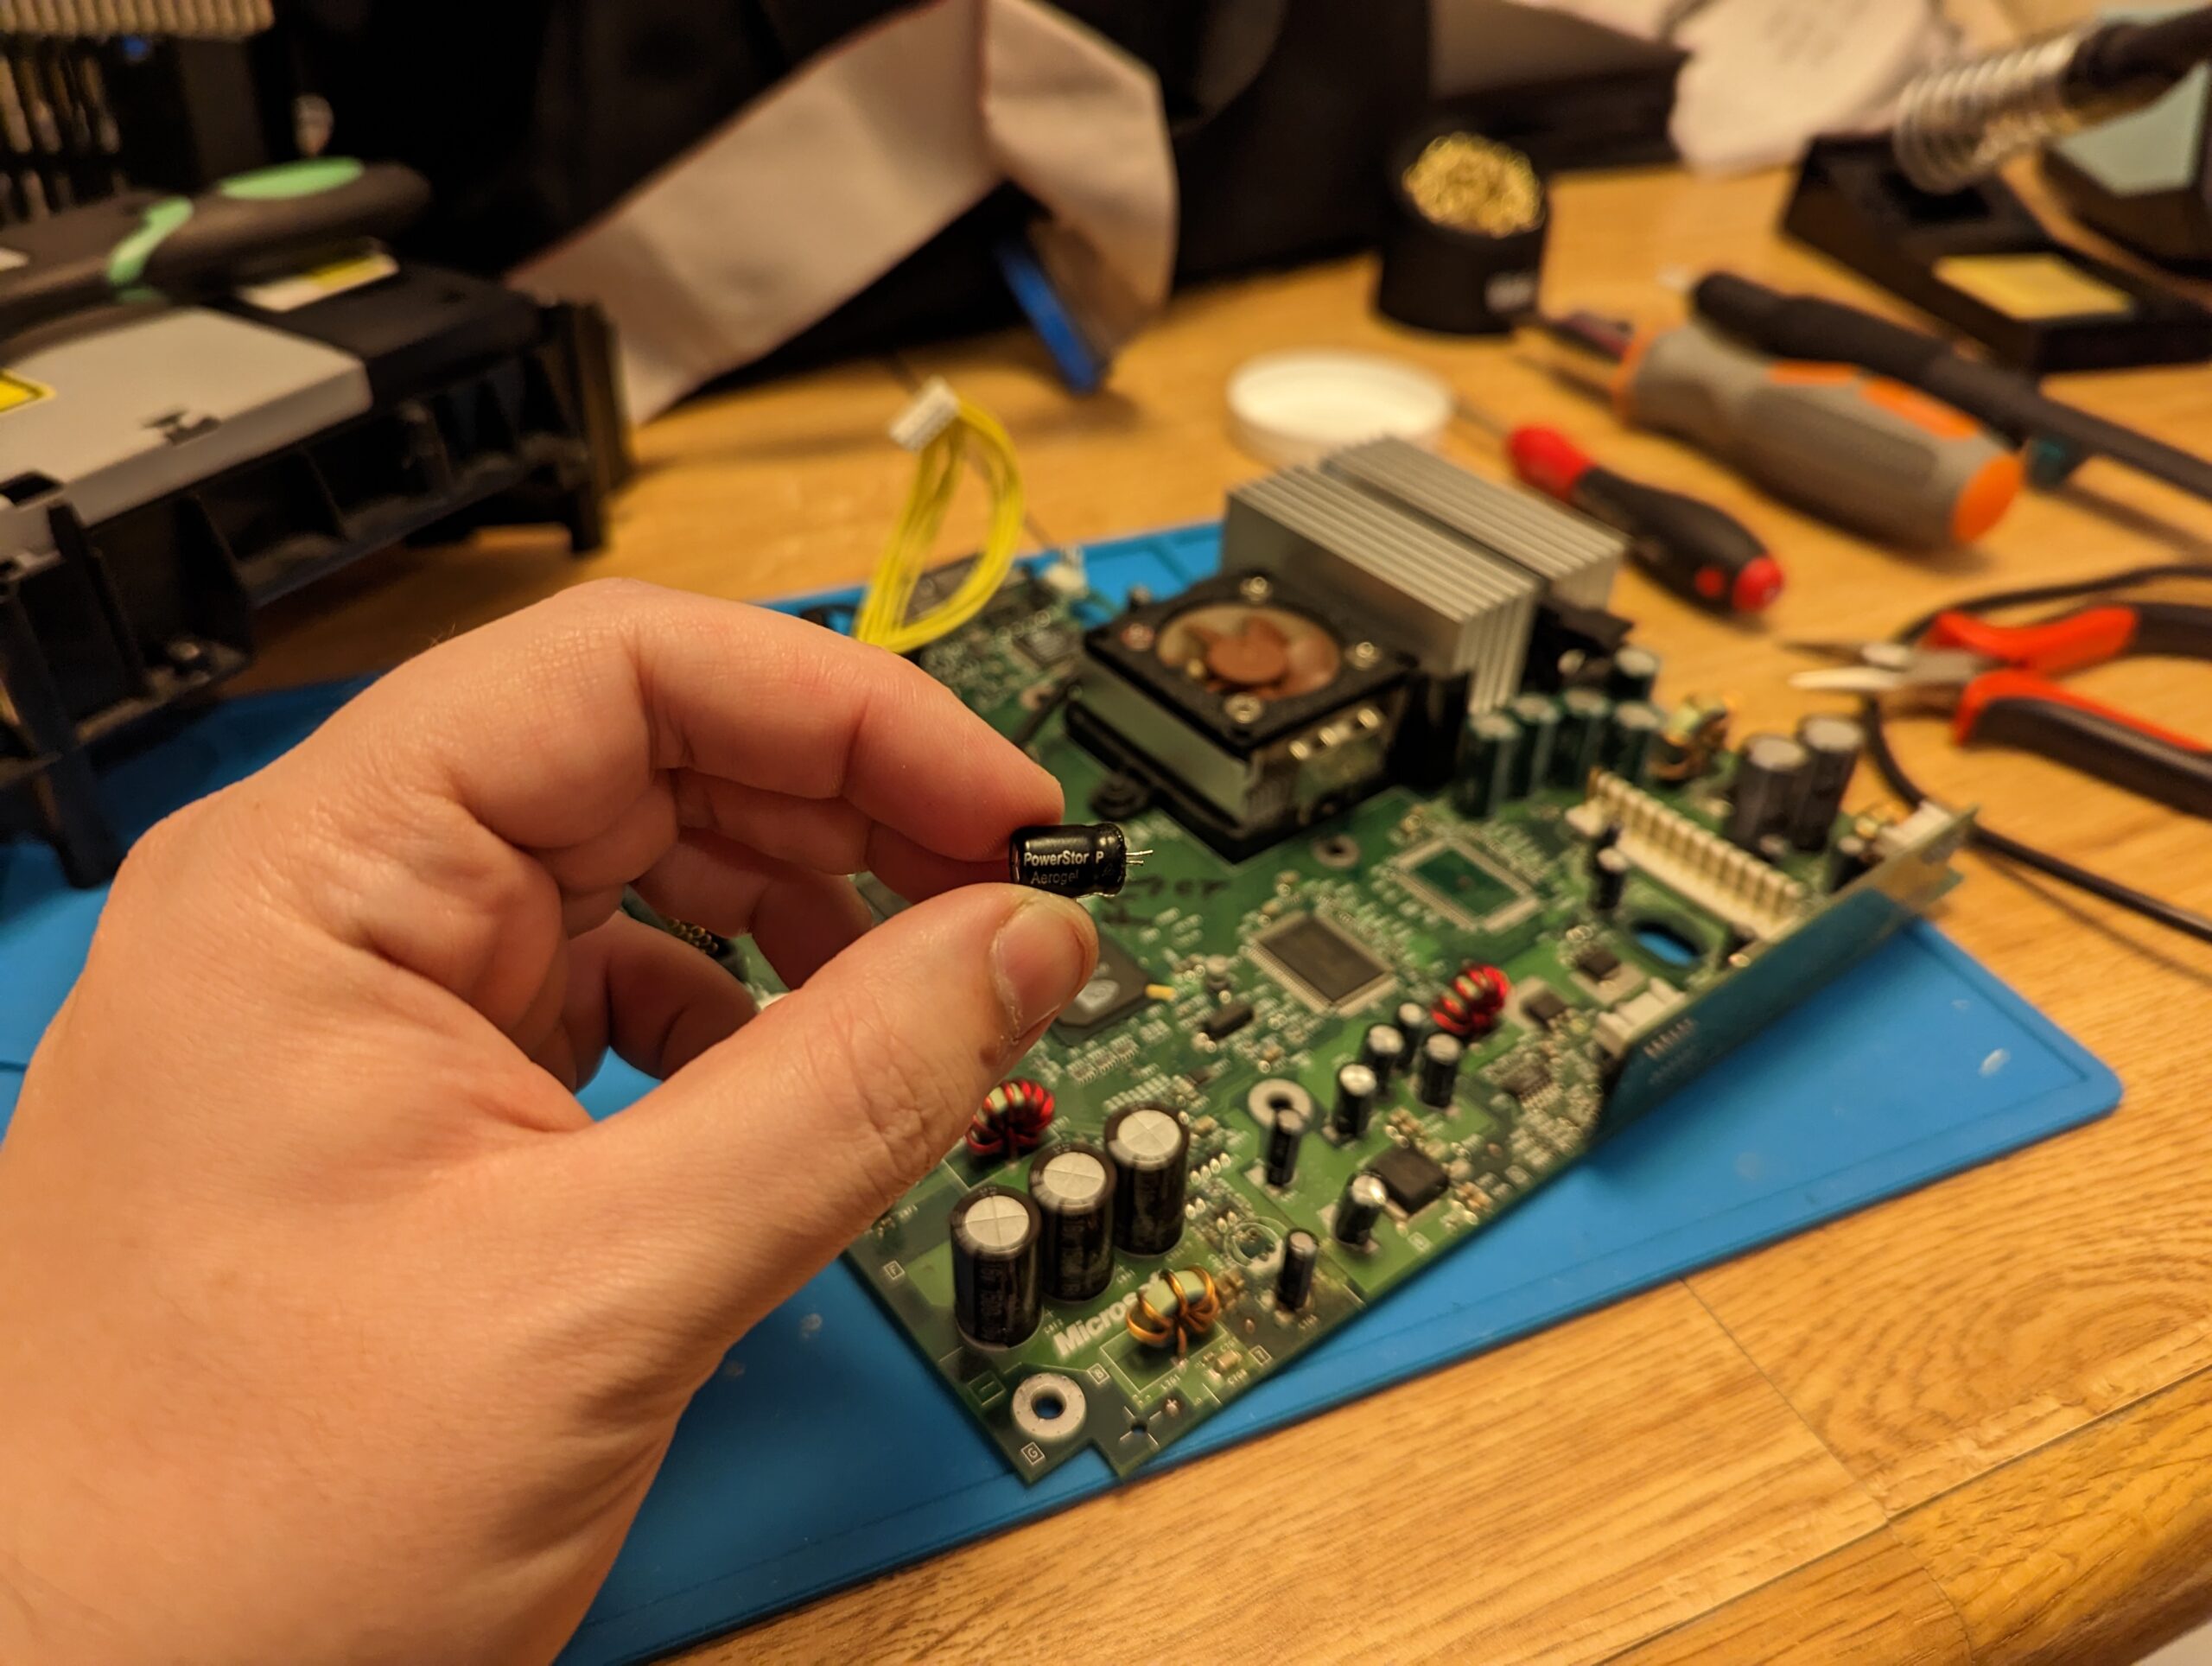
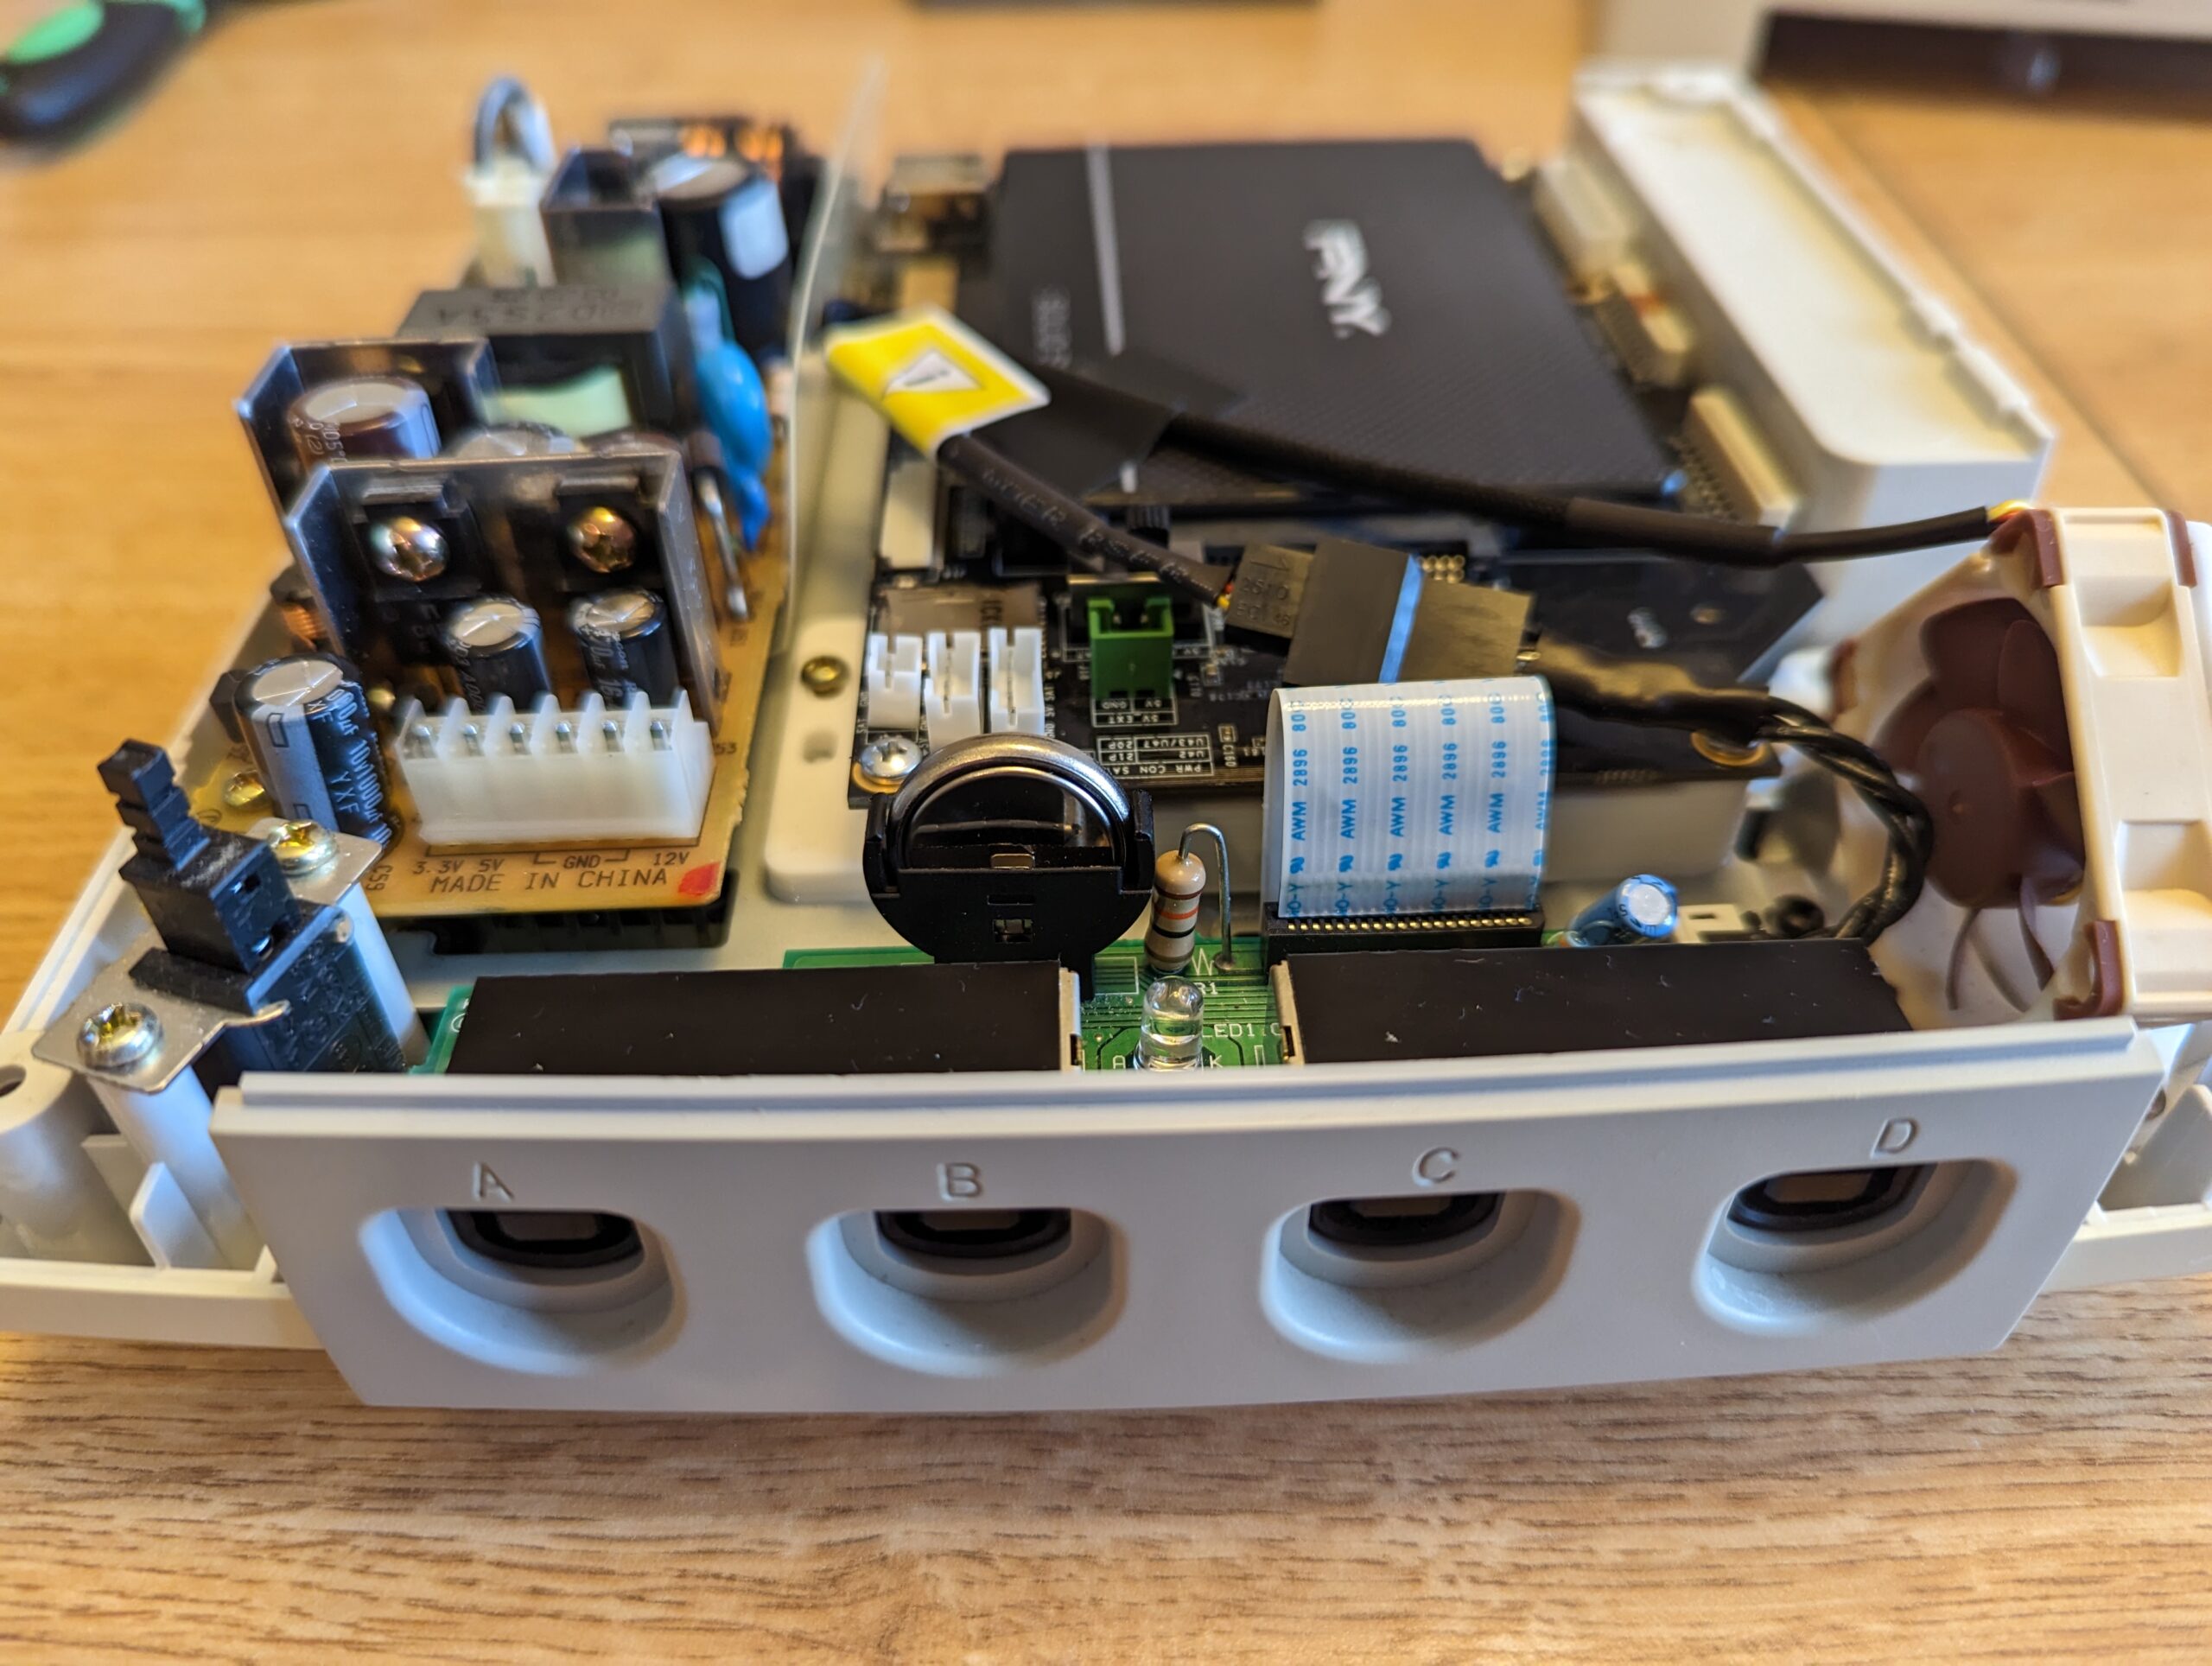
The last thing I did was replace the dead battery. If every time your console powers on it asks you for the date and time, this is why. The battery is soldered in, so I also installed a battery holder. The next time it dies it will be easy to swap. Make sure you install a ML2032 and not a standard CR2032. Here is the parts list:

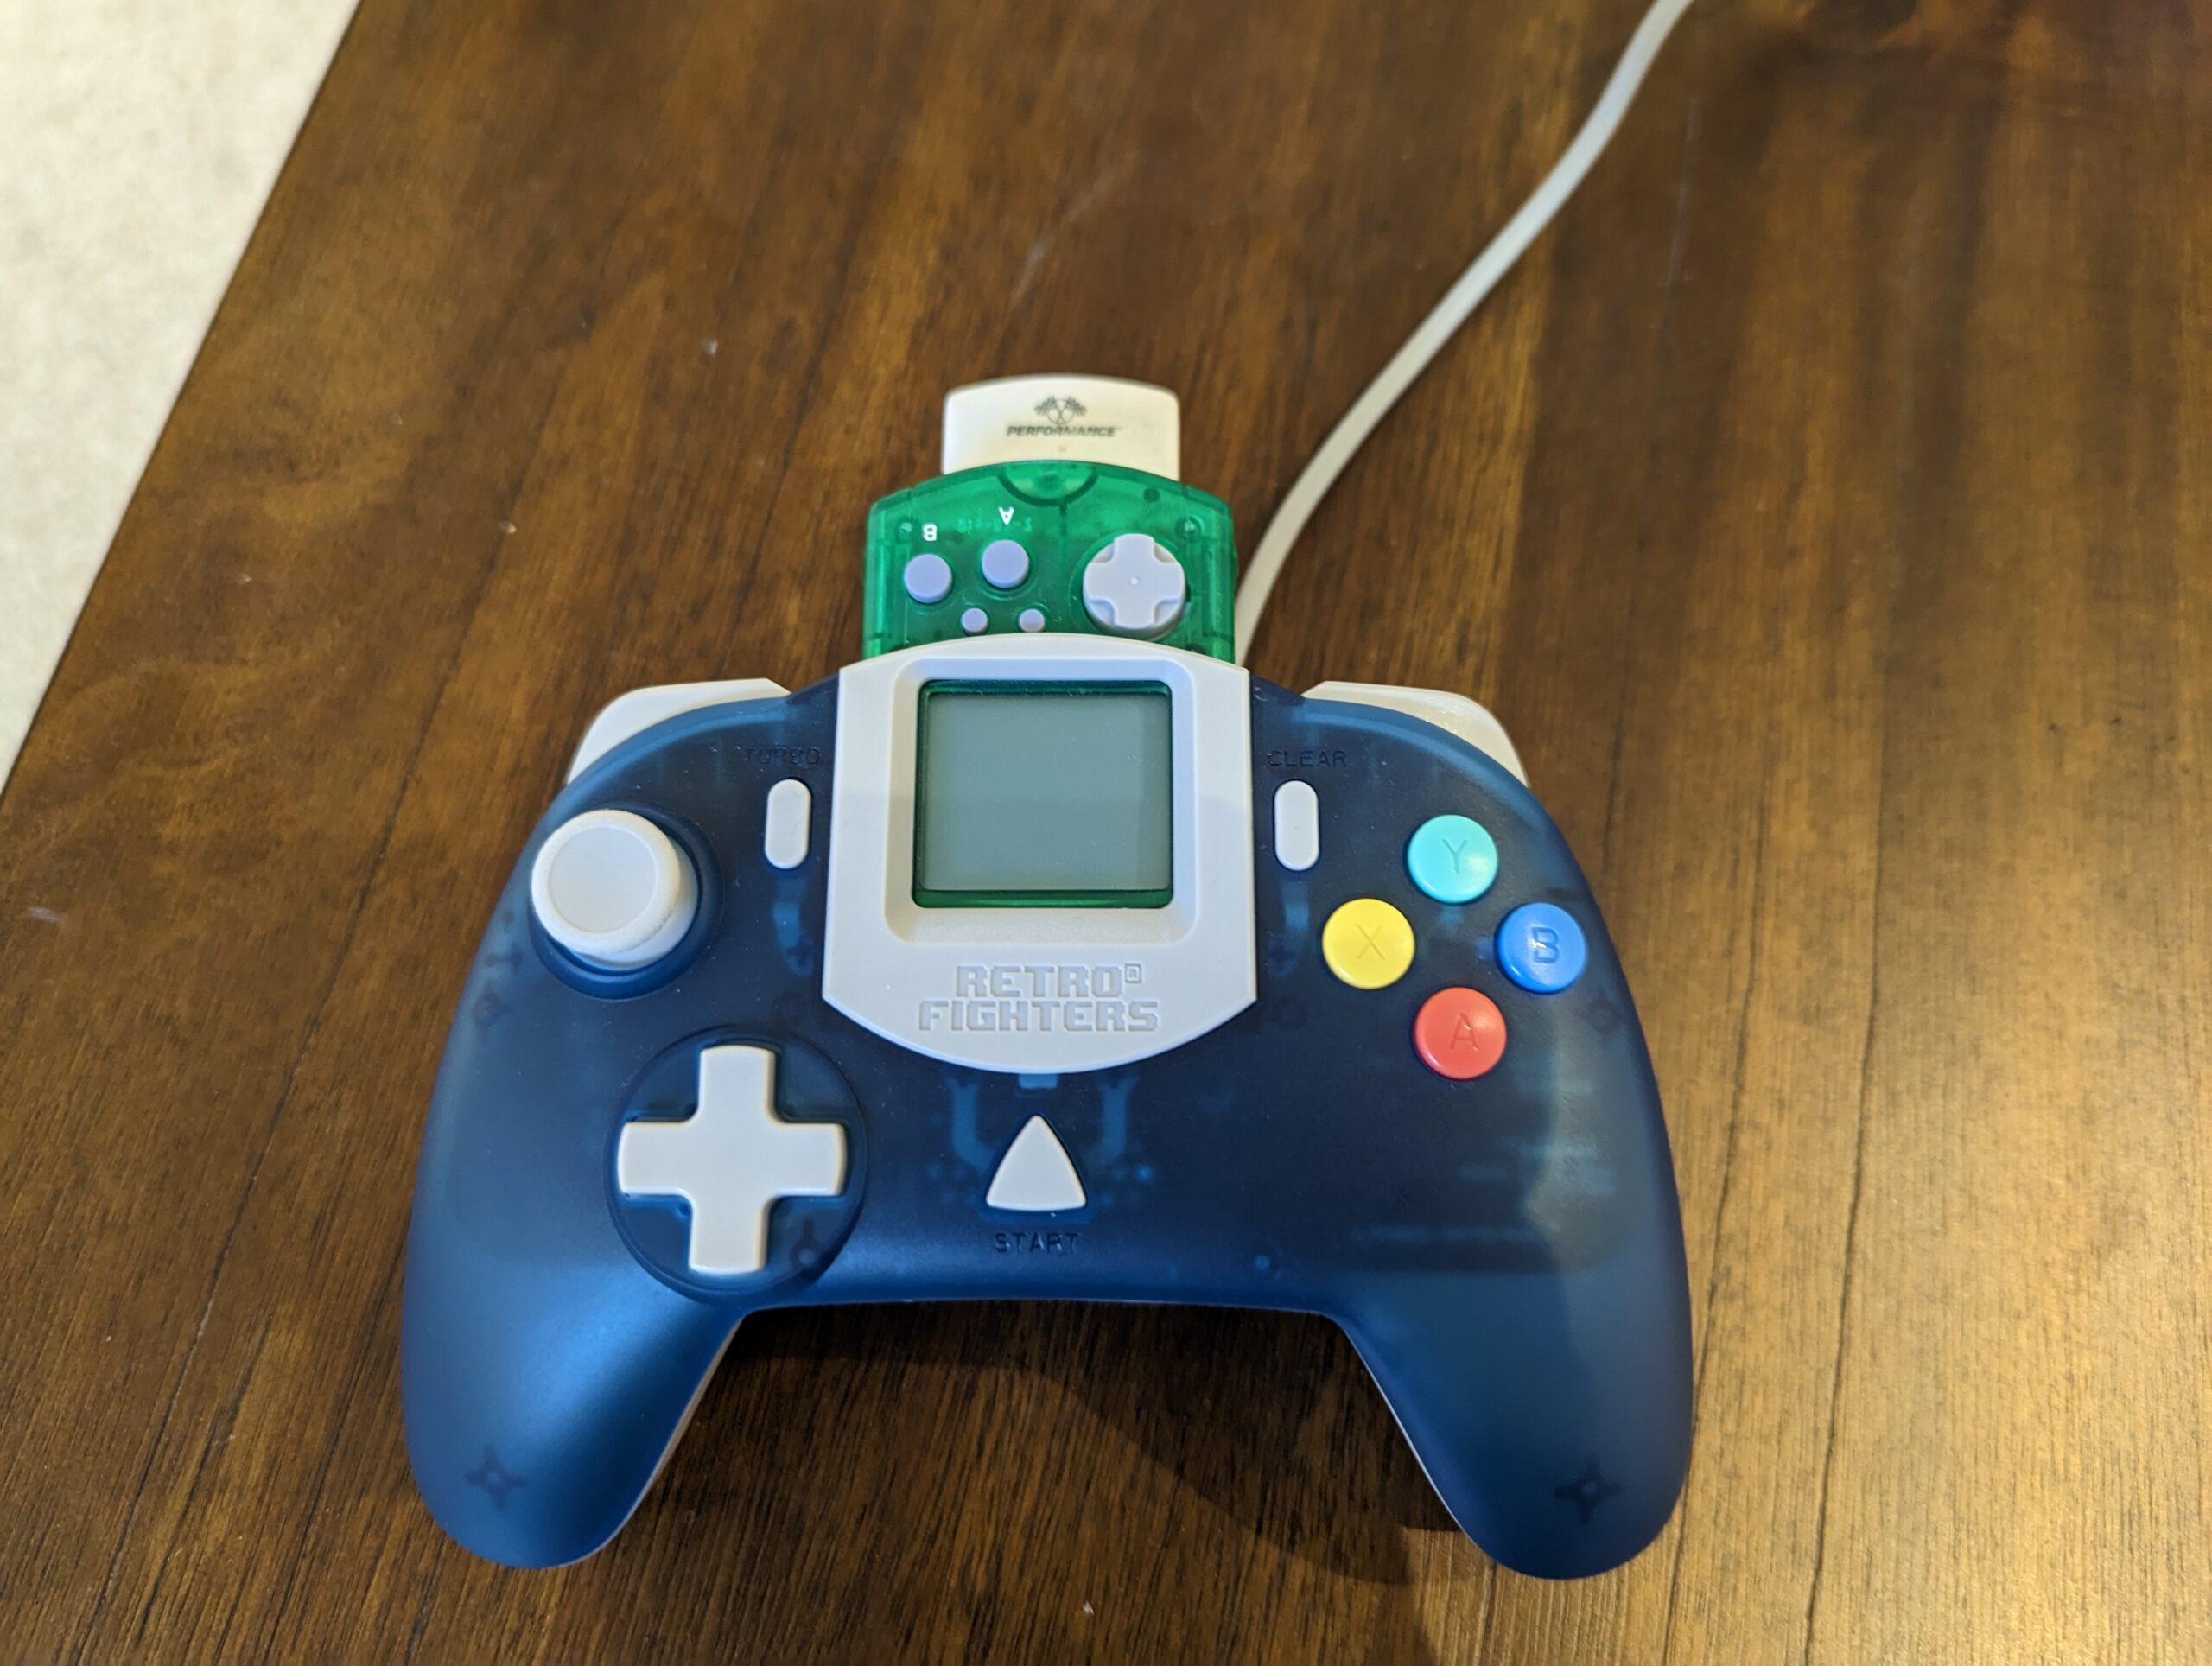
Lastly, if you are looking for some good 3rd party controllers I highly recommend these StrikerDC controllers from Retro Fighters.

Games Tech

Xbox Modding Adventure

So I recently decided to hook up some of my older consoles including the Original Xbox. Unfortunately I found that the DVD drive on the console was unreliable, and would sometimes fail to read discs. I decided it might be a good idea to finally softmod the console so I could avoid having to use the DVD drive at all. I happened to have a 1TB hard drive laying around that is actually compatible. The Xbox hard drive is locked with a key, and not every drive supports this. Its possible to get around it, but it can cause some issues, particularly with Xbox Live. Since I wanted to be able to join the Xbox Live replacement service Insignia that wasn’t an option.

With the hard drive on hand, I only needed a few other things for the softmodding process:

I followed two guides on YouTube. The first one had instructions on softmodding the console. Its a really good tutorial in general, but I do recommend using FATXplorer instead of Xplorer360 for getting files on the Xbox formatted flash drive. Xplorer360 is old and is a pain to get running on a modern windows install due to outdated file dependencies. FATXplorer just works immediately.

The second guide shows how to upgrade the hard drive:

It was a little bit sketchy having everything hanging out there and hot swapping the DVD drive and new hard drive but it worked!

I also took the time to replace the stock fans with some Noctua fans. I had to get some 3d printed mounts for the fans, and then increase the speed a bit in the modded dashboard system settings, but they are cooling better and are quieter then the old stock fans I removed.

Lastly I had to deal with the infamous clock capacitor. As expected, mine had already started leaking so I removed it and cleaned up the area.

I considered replacing the thermal paste as well, but temperatures are good and everything is running fine. So I decided that’s future-me’s problem.

Tech

Media PC Build May 2021

Back in 2013 I did a PC build for a friend that needed a video editing / gaming pc. We must have done something right because years later it was still being used mostly unchanged. The only major things upgraded/replaced over the years was a new CPU cooler and a new GPU. 8 years is an eternity in the PC Hardware World though, and the new AMD Ryzen 5950 is just too awesome to ignore. So my friend decided that yes, it was in fact time to upgrade that old PC.

We reused a number of components from the old PC: Hard Drives, Power Supply, CPU Cooler, and GPU. We could have re-used the old case, but it was not holding up all that great. I had a Define R5 I wasn’t using, so it got donated to the new build. The Define R5 is actually a pretty good choice for this build with all of the mounting options it has for hard drives.

The only new components purchased for this build were: Processor, Motherboard, RAM, NVMe SSD

Full specs are now: