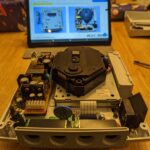
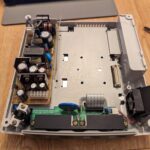
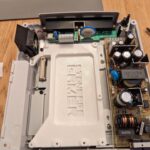
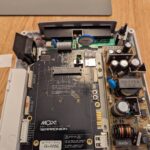
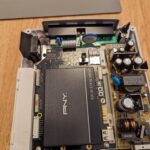
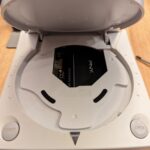
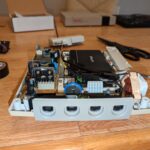
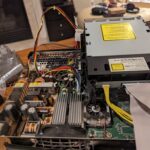
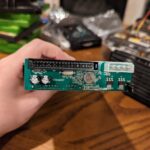
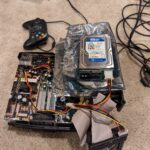
Here are some of the modifications I made to my Dreamcast recently. The first thing I did was get a Terraonion MODE. The MODE is a optical drive emulator that replaces the GD-ROM drive. It allows you to load games from a storage device like a SSD or MicroSD card. Its a drop in replacement making it super easy to install. You just pull out the GD-ROM drive and slot the MODE into its place. If you want to make it even easier to install, you can get a MODE Mounting Bracket to go along with it. For the storage I went with a cheap PNY CS900 500GB solid state drive. Don’t worry about NAND type, endurance, read speeds, etc when it comes to choosing a SSD. You are probably only ever going to write to the drive once when you first set it up, and read speeds will be bottle-necked by the GD-ROM drive bus that all the data still has to go over. So just go with something cheap that has the capacity you want.
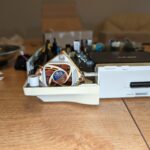
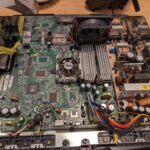
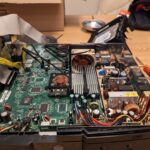
With the optical drive replaced, it becomes really noticeable how LOUD the stock fan is in the system. So I decided to replace it with a much quieter Noctua fan. In order to get this to work you will need a mounting bracket and a cable with a 10K resistor. Here is the parts list:
- Dreamcast Noctua Fan Mount Kit
- Noctua NF-A4x10 5V, Premium Quiet Fan, 3-Pin, 5V Version (40x10mm, Brown)
The cable is a bit long but there is plenty of room to tuck it out of the way. Make sure to install the replacement door release latch as well otherwise the new fan will interfere with the button.
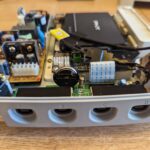
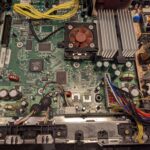
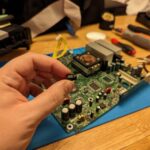
The last thing I did was replace the dead battery. If every time your console powers on it asks you for the date and time, this is why. The battery is soldered in, so I also installed a battery holder. The next time it dies it will be easy to swap. Make sure you install a ML2032 and not a standard CR2032. Here is the parts list:
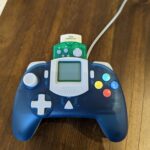
Lastly, if you are looking for some good 3rd party controllers I highly recommend these StrikerDC controllers from Retro Fighters.

